Graphics Programs Reference
In-Depth Information
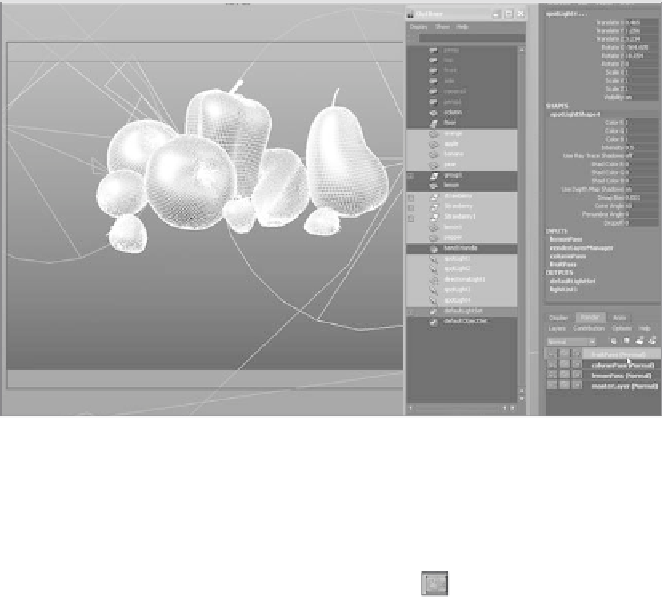
Figure 11.47
The newly
created fruitPass
render layer
6. Select all the rest of the pieces of fruit, as shown in Figure 11.47, and create their ren-
der layer called
fruitPass
. You should now have three render layers and the default
masterLayer. The masterLayer is always present to house all the elements of the scene.
It switches to being not renderable as soon as you create a new render layer, as evi-
denced by the little red X in its Renderable icon ( ).
7. The first icon on each of the render layer entries in the Layer Editor toggles whether
that layer will render or not. Make sure all your render layers are renderable, and leave
the masterLayer off. Because all the elements of the scene are assigned to one render
layer or another, the whole scene is covered. The masterLayer nonetheless is always
present, because it represents all the objects in the scene, assigned to layers or not.
8. With the fruitPass render layer selected, test-render a frame, as shown in Figure 11.48.
You should see just the fruit and not the background, column, or foreground lemon.
Figure 11.48
Rendering the rest
of the fruit


