Graphics Programs Reference
In-Depth Information
Binding the Hand: Rigid
Because you want definitive creases at the finger joints, you'll use Rigid Bind for the hand.
Load your hand and positioned skeleton, or use the file
poly_hand_skeleton_v02.ma
from the Poly_Hand_Anim project on the CD. Now, follow these steps to rigid-bind
the hand:
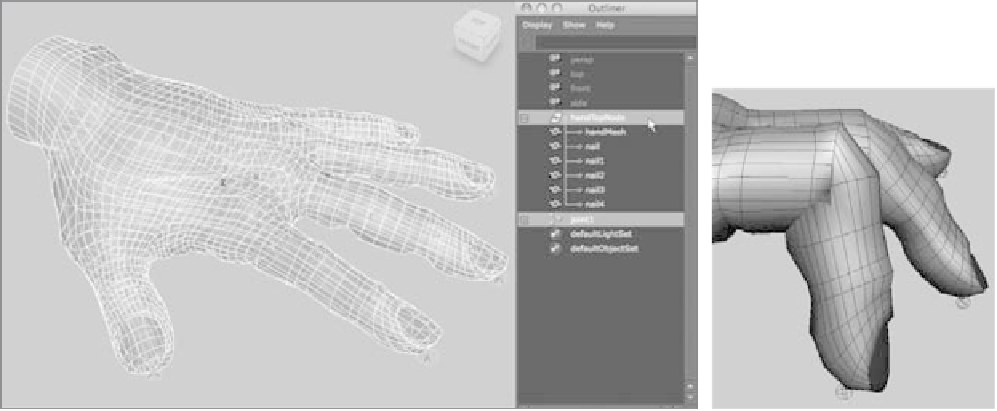
1. Select the skeleton's root at the wrist, and Shift+click the top node of the hand. If
you're using the file from the CD, select the hand's top node (handTopNode) to make
sure you select the fingernails as well, as shown in Figure 9.34.
2. Choose Skin
➔
Bind Skin
➔
Rigid Bind
r
. Turn on Color Joints, and click the Bind
Skin button in the option box. You're bound and ready to animate the hand. The
joints take on colors to help you identify them.
3. Select some of the finger joints, and rotate them. Notice how the model creases at the
knuckles, as shown with the index finger in Figure 9.35. If you rotate far enough, the
model will fold in over itself.
Figure 9.34
Select the root joint as well as the top node of the hand.
Figure 9.35
The crease at the knuckle is severe,
and the geometry folds over into
itself.
Editing a Rigid Bind
Having a rigid bind doesn't mean your creases always have to be this hard. With
flexors
(basically lattices, as discussed in Chapter 5), you can smooth out specific areas of a joint
for a better look. This is useful at shoulder joints or hip joints, where a crease such as on