Graphics Programs Reference
In-Depth Information
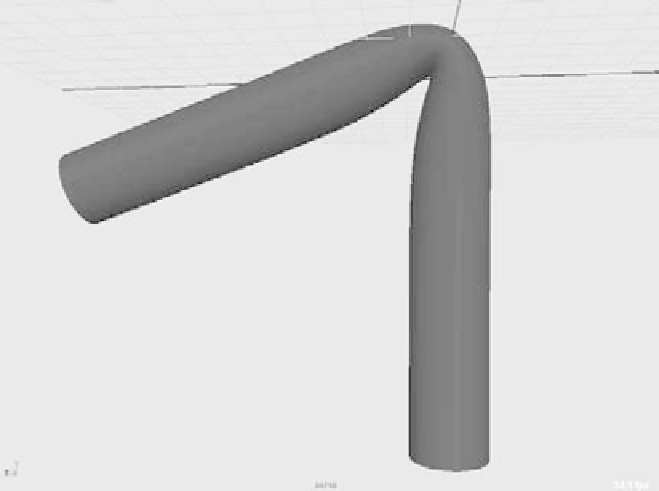
Figure 9.32
Smooth bind of the
cylinder shown in
Figure 9.31. The
crease is smoother,
yet less defined.
Create a tall NURBS cylinder, with a span of 16 or more. The more spans you have in
the deformable model, the better it will bend. Duplicate the cylinder, and move it over in
your window. Now, in the front view, create a four-bone (five-joint) skeleton that starts
at the bottom of the first cylinder and goes straight up the middle, ending at the tip.
Duplicate the skeleton, and move it to the center of the second cylinder.
CREATInG A RIGID BInD
A rigid bind is the simpler of the two, because only one surface point (vertex or CV) is
affected by a joint at a time. A
rigid
bind
groups the CVs of a NURBS or the vertices of
a polygon into
joint clusters
that are then attached to the bones. No one surface point is
influenced by more than one joint.
Bending a model about a joint with a rigid bind yields a more articulate crease than
a smooth bind. A smooth bind allows more than one joint to affect the CV or vertex,
resulting in a more rounded and smooth bend.
To create a rigid bind, select the first skeleton and Shift+click its cylinder. In the
Animation menu, choose Skin
➔
Bind Skin
➔
Rigid Bind
r
.
In the option box, you'll find that almost everything you need is already set to the
default. The Bind
To parameter lets you rigid-bind the entire skeleton to the geometry or
rigid-bind only the joints selected. Using Selected Joints gives you the option of using just
part of a skeleton system to rigid-bind, which also gives you flexibility in how your rig
affects the model. Leave that option set to Complete Skeleton to attach the whole thing.