Graphics Programs Reference
In-Depth Information
8. In the Hypershade, select the place3dTexture2 node (Figure 7.105) and the green
cube in the view panels.
9. Rotate that placement node in the persp panel 90 degrees to the right or left. Render
a frame, and compare it to Figure 7.106. The wood should no longer have that awk-
ward wavy pattern.
Figure 7.105
Select the
placement node
for the second
Wood texture.
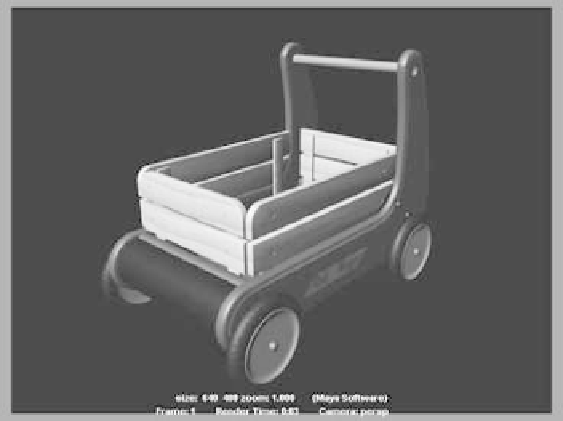
Figure 7.106
The wood on the
front and back rail-
ings looks better.
The wood railings are finished. Now, for some extra challenge, you can use pictures
of real wood to map onto the railings for a more detailed look. The procedural Wood
texture can give you only so much realism. If you create your own wood maps, use your
experience with the side panels to create UV layouts for the railings so you can paint real-
istic wood textures using Photoshop. You'll use custom photos and texture image maps
next to simulate the rich wood in the decorative box.