Graphics Programs Reference
In-Depth Information
You'll start with the main cabin. It has two sections: the cabin itself and the roof.
You'll begin with the roof and work your way down. Follow these steps:
1. Make a poly cube, and scale it so that
X
= 5.6,
Y
= 1, and
Z
= 7.7. Select the front
vertices (at the right side of the cube in
Figure 4.76), and move them back a tad
in
Z
to angle the edge. Do the same to the
rear bottom vertices, giving the cube a
tapered look in the
Z
-axis.
2. You need to subdivide the cube. This
time, you'll use the Add Divisions tool.
Select the cube, and choose Edit Mesh
➔
Add Divisions
r
. Make sure Division
Levels is set to 1 and Mode is set to Quads.
Click Add Divisions. Maya places edges
that cut through the middle of the faces.
Figure 4.76
Taper the cube by
moving the vertices.
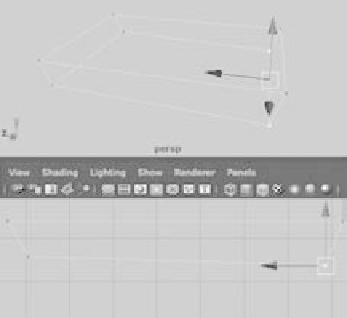
3. Right-click the cube to enter Component
Selection mode, and choose Edge from
the marking menu. Select the edges as
shown in Figure 4.77, and move them
toward the back (to the left of the image
in the figure) of the roof.
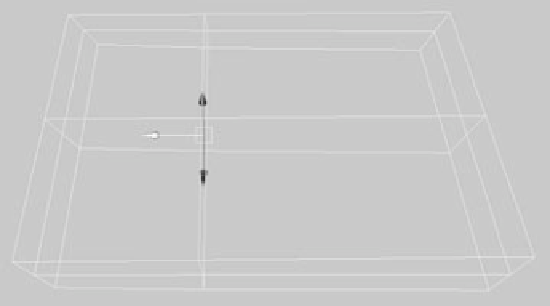
4. Using vertices, shape the roof to match
the one in Figure 4.78.
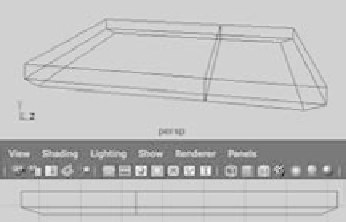
5. Select the bottom two faces, and extrude them down once. Select the back face again,
and extrude that down one more time to match the shape shown in Figure 4.79.
Figure 4.77
Select and move
these edges.
Figure 4.78
Shape the roof to match this shape.
Figure 4.79
Continue to shape the roof.