Graphics Reference
In-Depth Information
Figure 13-4.
Prepare parts for welding
Use a deburring tool or razor blade to bevel
the top edges of the seam where the parts
meet, forming a narrow, V-shaped channel
(
Figure 13-5
). Your goal is to create enough
room for three welding layers, from the bot-
tom of the bevel up to just above the surface
of the two parts. This method gives a stron-
ger bond than a weld that sits just on the
surface.
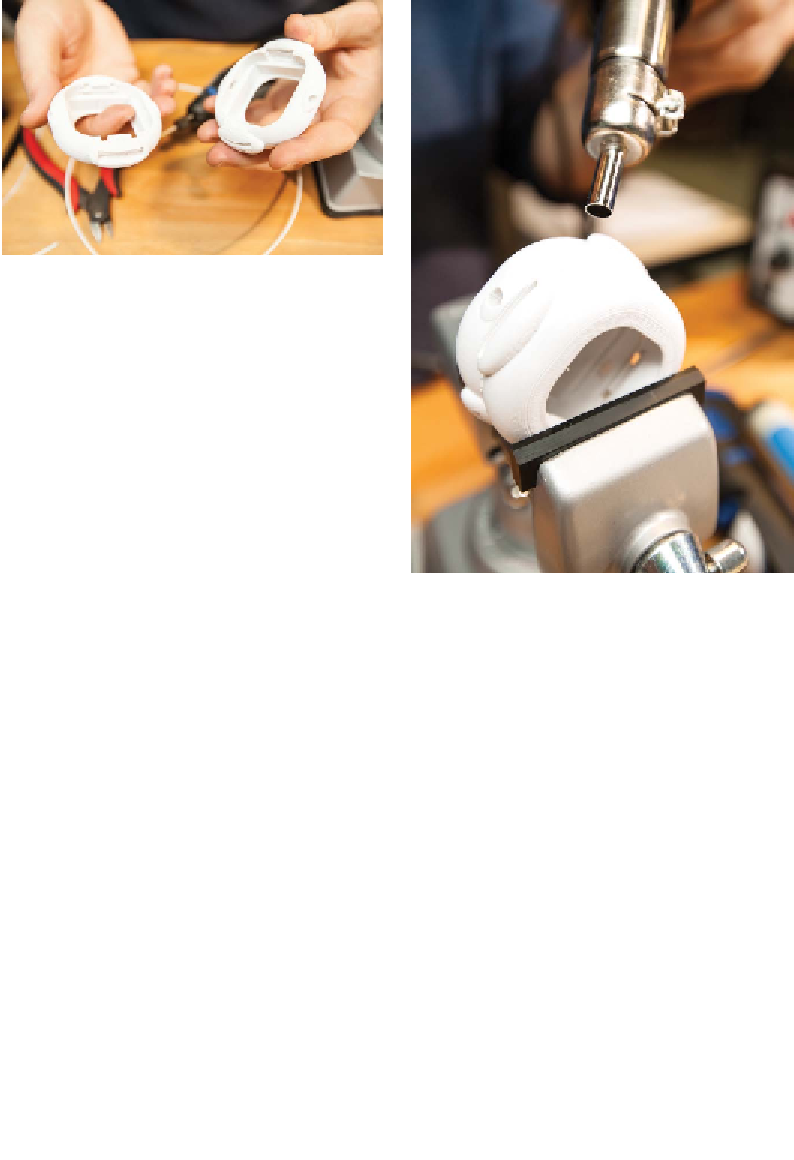
Figure 13-6.
Warm the parts with a heat gun
3. Tack-Weld the Parts in
Position
Now tack the parts together with a series of
short spot welds, moving around the joint
while holding the parts steady.
Spin up the rotary tool, and lower it until the
spinning filament grazes both surfaces of
the seam. When the tip of the filament be-
gins to deform, apply a little pressure
(
Figure 13-7
).
Figure 13-5.
Bevel the top edges of the seam, form-
ing a narrow, V-shaped channel
Warm both parts with low heat from a heat
gun (
Figure 13-6
). This helps them receive
the weld to the same depth. If one part is
much larger than the other, focus extra at-
tention on warming the larger piece.