Graphics Reference
In-Depth Information
is only there for backwards compatibility,
and irregular is for special-use cases that
you won't run into for years, if ever.
So that you can understand the settings
involved, here is a brief explanation of
how shadow buffering works. For each
shadow-buffered lamp in the scene, a
mini render is done from its perspective
showing which objects it can see, and
how far away they are. This is saved as
a type of image called a
shadow map
.
When the final render for the scene
occurs, the renderer checks every surface
to see where it falls in that shadow map,
and how far away it is from the lamp in
relation to the object saved in the map.
If it's farther away from the lamp than
the map object, it's considered in shadow.
All of the settings in the buffering section
of the Shadow panel deal with the cre-
ation and application of this shadow
image map. These controls have to be set
up just right to give good results. You
can look at
Figure 5.11
for the default
values. They aren't terrible, but I have
my own set of defaults when working
with buffered shadows, shown in
Figure
5.13
. Here's an analysis of these controls,
and why I start where I do.
Size
This is the actual size in pixels of the
shadow map. Obviously, the higher this
number, the more detail the map can
contain, just like a high-resolution image
of a forest has a better chance of showing
the individual leaves than a low-resolution copy. If you will be heavily blurring the shadows or have
no detailed elements in your scene, you can afford to go lower. However, if you have a lot of fine
detail that must show in the shape of a cast shadow, you will want to go higher. Some of the shadow
lamps in previous Foundation productions used maps of up to 8,000 pixels across. When building your
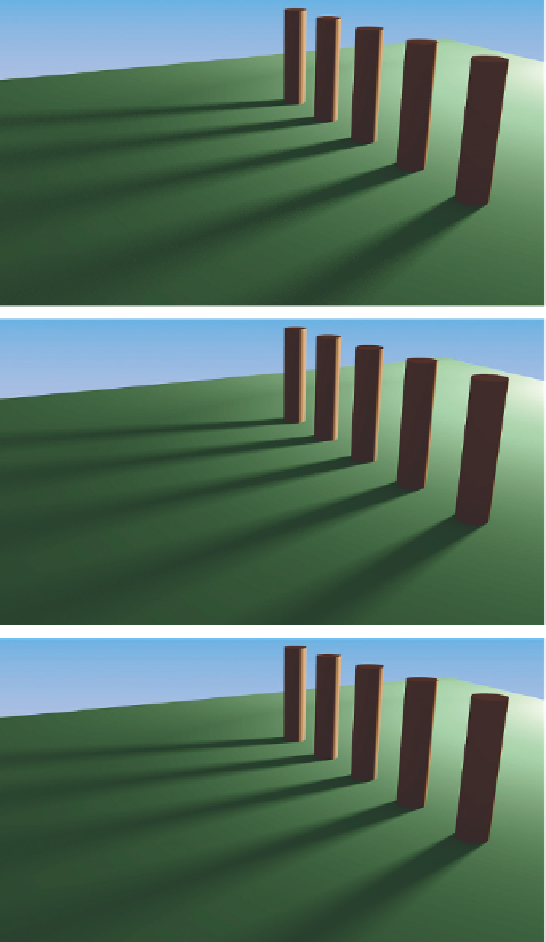
Figure 5.10
Lighting and shadow generated by an area lamp and sampled
shadowing.
Search WWH ::

Custom Search