Databases Reference
In-Depth Information
7.
Here again, it will be best to accept the
Typical
installation to get you
started. If you realize there is some feature missing that you must have, you
can always reinstall the software at a later date and select the
Custom
option.
For the most part, the difference between the
Typical
and the
Custom
installation is the ability to select sample scripts. The actual Essbase
administrative functionality is the same.
8.
Just like Step 9 of the Essbase analytics installation, this requires you to
select
ESSLANG
. The
ESSLANG
variable defines the locale of the computer.
For example, for US English it is
ENGLISH (LATIN1)
. This is to ensure
proper communication with other applications and is the Unicode setting.
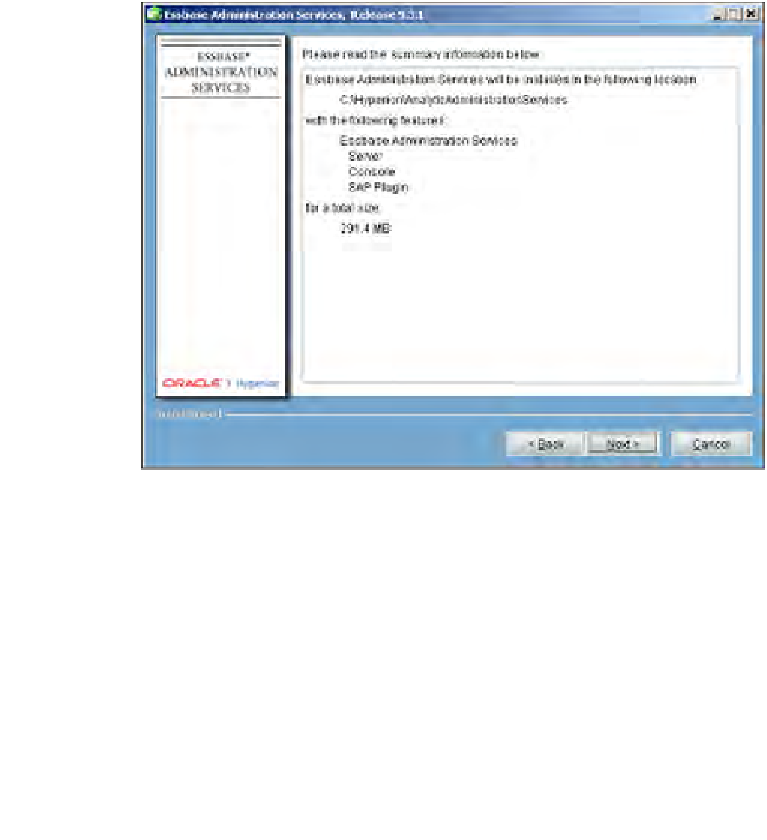
9.
This step summarizes the current installation. Check the information
carefully to confirm you have the locations correct as well as the selected
Hyperion components. If there are any corrections to be made, use the
Back
button to go back and fix what is needed. This is your last chance
before the wizard begins the actual installation.
10. This step basically tells you that the EAS installation is in progress.
Take a break, read the installations notes as they flash on the screen.
Seems like Déjà vu.
11. Now, here's another one we've seen before. In this case, there is no need for
the configuration tool, since you are only installing the EAS tool.
Do not
check
the box on the screen labeled
Launch Configuration Tool
. Simply click
Finish
.


