Databases Reference
In-Depth Information
4. On the
Mappings
tab you can mention the member name if the outline
contains different member names or the same member name with different
names. The source and the target members can be defined in this screen.
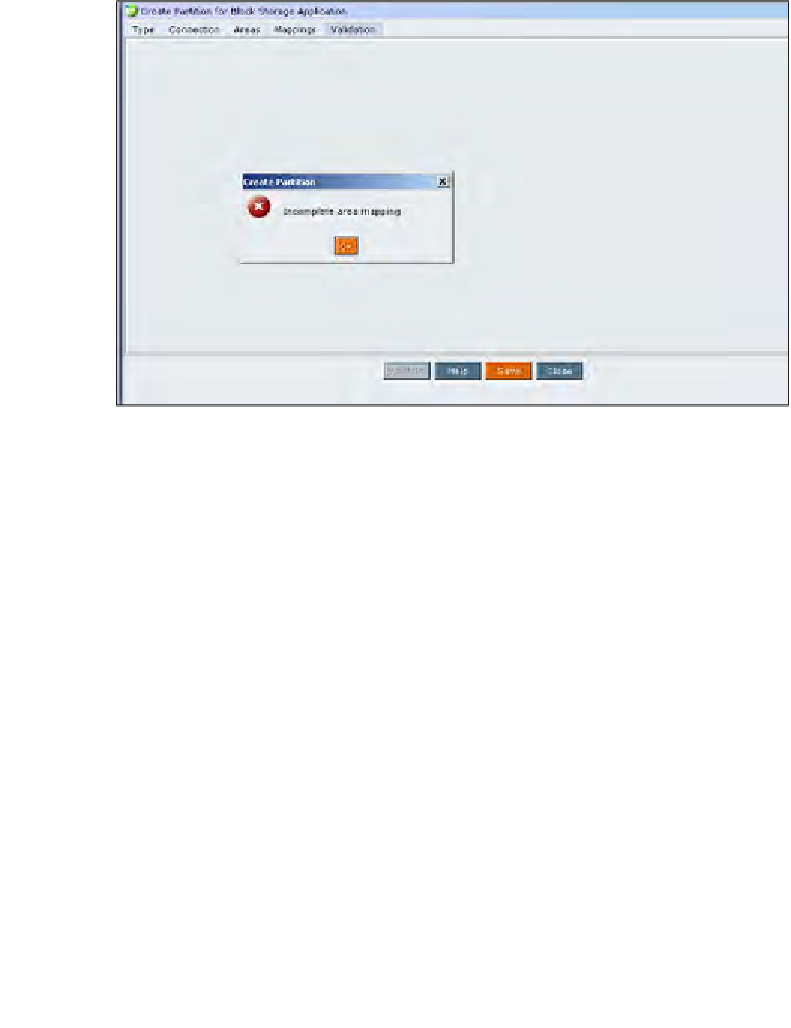
5. After you have completed the four steps to set up a partition definition,
you can click on the
Validate
button. If you have successfully set up your
partition you will see a message box saying your partition is valid and you
can then save the partition. If there is an error it will prompt you with an
error message as shown in the following screenshot:
The error message in the previous screenshot says that the area mappings are
incomplete. You must go back and click on the
Areas
tab and correct the error
by ensuring you have matching source and target partition definitions and
then you can click on the
Save
button. If there are no errors the partition will
then be saved and you will be able to make use of the partitions. To create a
Replicated
partition or a
Linked
partition you would follow these same steps.
Analytic server configuration file
This is the big one! The
essbase.cfg
file is where most of your advanced techniques
will come into play. The
essbase.cfg
file is an ASCII text file and can be edited
using any standard text editing tool. Found on the Essbase analytic server in the
essbase\bin
folder, the heart and soul of your performance tuning will be in there.
In fact, many of the performance tuning settings the you will set through the EAS
will have a counterpart setting in the
essbase.cfg
file.