Databases Reference
In-Depth Information
13. Yes, another one of these screens. This is now the configuration tool wizard.
You are again asked to select the language for the wizard. Even though it is
part of the Essbase analytics server software, what the heck, you may want
to use a different language. Select
English
or the system will select
English
for you. Once again, this will determine what language the installation
screens are presented in.
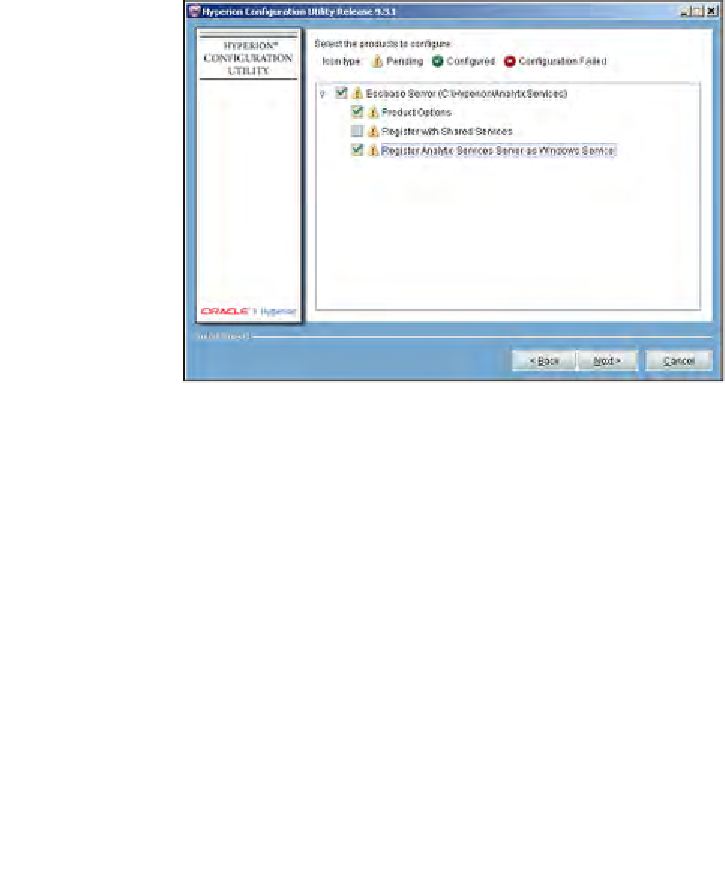
14. On the screen below, you are presented with the Essbase System 9 components
you have installed on your server and their configuration status. Place a check
mark next to all of the components that are flagged as pending, as now is the
best time to set up your components and verify their proper configuration.
Looking at the following screenshot, you can see that all choices are pending.
Since shared services has not been installed, you will only want to place a
check on
Essbase Server
,
Product Options
and
Register Analytic Services
Server as Windows Service
at this time.
Clicking
Next
will open screens to you which will walk you through the
configuration steps for the components you've selected. This is also where
you will enter your initial supervisor account ID and password, so make
sure you do not forget it.
15. After successful installation and configuration, you will see the following
screen. Congratulations! You now have a fully functioning Essbase service
installed on your server, complete with full Essbase API functionality. See
the next step for what to do at the initial start up.