Databases Reference
In-Depth Information
Repeat the above steps by clicking on
Next
and choosing the
Dimension
name and
Field
|
Type
until you reach the end of the file. The Generation number will be
incremented by one for each new field in the data that you define as a new member.
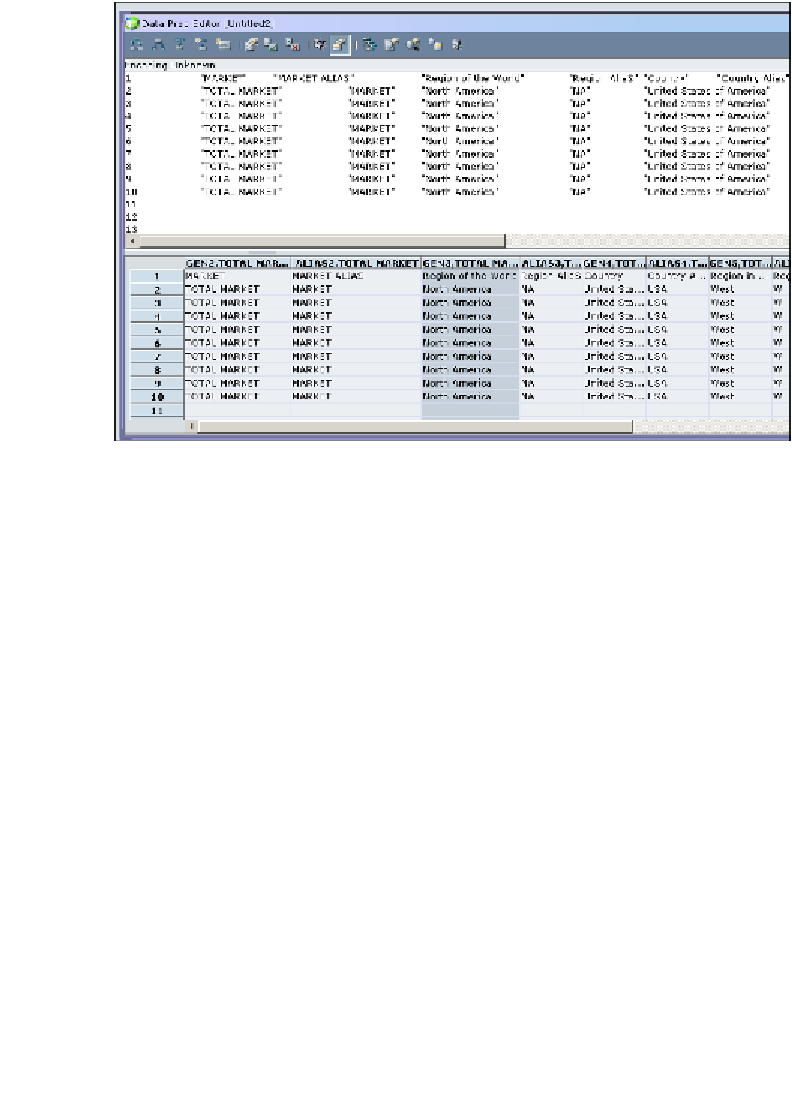
Finally, all of the fields in the input data file are defined in the Essbase rules file.
The rules file should look like this:
Step 9: Validate the Dimension Build rules file
Now that all of the input data fields are assigned to the appropriate outline members,
we need to validate the rules file against the database outline. With the rules file
open, click on the validate button (the quick select button says
Validate
when you
hover over it). The validate function validates if the rules file is properly defined for
the specific database outline. If the validate is successful, you will receive a validate
successful message. If the rules file is not properly defined to the database outline, you
will receive a message stating the validation was unsuccessful. One common example
of a rules file validation failing is if you have two fields defined as building members in
the same dimension. When you set the dimension build to use the generation method,
you must be careful that you define the fields correctly. The field that is going to build
Generation 2
members must be the only field set upto do so.
Upon successful rules file validation, click on
File | Save
and give the rule file
a name (preferably something meaningful but remember, upto 8 characters in
the name). The rules file can be saved on either the Essbase server or as a local file.
Where you save it depends on your specific architecture.