Graphics Programs Reference
In-Depth Information
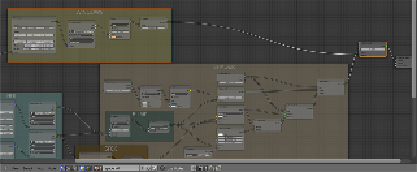
26. Add a new
Mapping
node (
Shift
+
A
|
Vector
|
Mapping
), a
Brick Tex-
ture
node (
Shift
+
A
|
Texture
|
Brick Texture
), a
Checker Texture
node
(
Shift
+
A
|
Texture
|
Checker Texture
), and a
Mix
node (
Shift
+
A
|
Col-
or
|
Mix
).
27. Add a
Frame
(
Shift
+
A
|
Layout
|
Frame
), select the former nodes and
then the frame and press
Ctrl
+
P
to parent them; rename the frame
MASK WINDOWS
.
28. Connect the
UV
output of the
Texture Coordinate
node to the
Vector
in-
put socket of this
Mapping
node, then connect the
Mapping
node output
to the
Vector
input sockets of both the
Brick Texture
and
Checker Tex-
ture
nodes; connect the
Color
outputs of both the texture to the
Color1
and to the
Color2
input sockets of the
Mix
node.
29. Set the
Mapping
node
Scale
to
0.500
for all the three axes, then go to
the
Brick Texture
node and set: the
Offset
and
Squash
frequency to
3
, the
Color1
to pure white, the
Color2
to RGB 0.500, and the
Scale
to
5.800
. Go to the
Checker Texture
node and set the
Color2
to total black
and the
Scale
to
5.900
.
30. Set the
Mix
node
Blend Type
to
Burn
and the
Fac
value to
1.000
; con-
nect its output to the
Fac
input socket of the
ADD WINDOWS
node. Press
Shift
+
D
to duplicate the
Burn
node and set the
Blend Type
to
Multiply
,
then paste it right after the
Burn
node; connect the output of the
Bright/
Contrast
node inside the
SPEC
frame to the
Color1
input socket of the
just added
Multiply
node (this way the connection of the
Burn
node is
automatically moved to the
Color2
input socket).

