Graphics Programs Reference
In-Depth Information
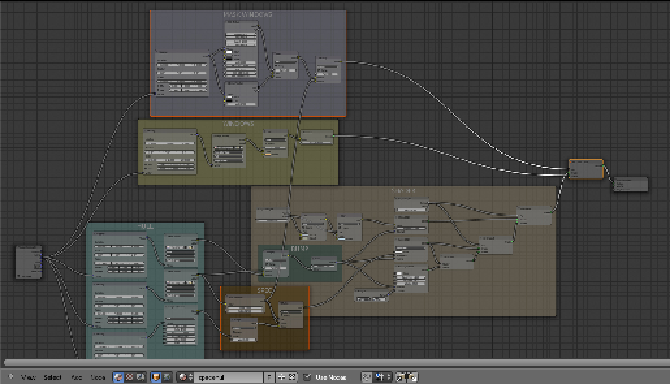
31. Add a
Mapping
node (
Shift
+
A
|
Vector
|
Mapping
) and an
Image Tex-
ture
node (
Shift
+
A
|
Texture
|
Image Texture
); rename this latter
NAME
and load the image
spacehull_name.png
(a simple logo made in Gimp
with the alpha channel, that is a transparent background).
32. Connect the
UV
output of the
Texture Coordinate
node to the
Vector
in-
put socket of this
Mapping
node, then connect the
Mapping
node output
to the
Vector
input sockets of the
Image Texture
node.
33. Now go to the
SHADER
frame and add a
Mix
node (
Shift
+
A
|
Color
|
Mix
), paste it between the color
Mix
node and the
Diffuse
shader; con-
nect the
Color
output of the
NAME Image Texture
node to the
Color2
input socket of the last added
Mix
node and the
Alpha
output to the
Fac
input socket.
34. In the
Mapping
node click to activate both the
Min
and
Max
clipping val-
ues, set the
Scale X 0.700
and
Y 1.600
and play with the
Location X
and
Y
values until you see the
ARGUS
logo appearing on the hull in the
location you want (this is dependent on the location of the initial face you
choose as the active one for the unwrapping, because every other face
has been unwrapped following the location of that active face; in my ex-
ample I had to set the
Location X
to
-1.900
and
Y
to
0.100
).
35. Add a
Frame
(
Shift
+
A
|
Layout
|
Frame
), select the
Mapping
and the
Image Texture
nodes and then the frame and press
Ctrl
+
P
to parent
them; rename the frame
NAME
.