Graphics Programs Reference
In-Depth Information
The first node of this row is
RGB Curves
(
Add → Color → RGB Curves
), which
performs a clamping on the color channel. With this clamping the dark gray colors
below 70% of brightness become totally black; the other shades of gray are just
evenly distributed from black to white. Next we find a couple of nodes performing a
small blurring on the result from the clamping RGB Curves node and then mixing the
clamped image with the blurred one. Noice that the mix node is set to use a
Fac
of
1.0 and the
Screen
method, which is generally used to add highlights. At the output
of the mix node we can put a Viewer node (
Add → Output → Viewer
) and check
how the blurring adds immediately the sense of glowing to the points that are going
to be the stars of the nebula. Finally, the output of the mixing node goes through an
RGB Curves node, here shown separated into three to show how the Color, Red and
Green channels look, which performs some lifting of the brightness of the image by
increasing the contrast of the shadows (stronger slope, in the botom let-hand side)
and also reduces the contrast to the bright parts a bit (softer slope, upper right-hand
side). The lifting for the red and green channels causes the image buffer to become
yellow inted.
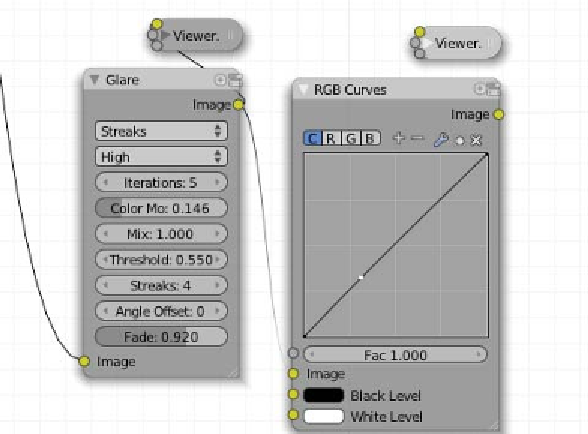
11. The last row of processing looks like this:
This row is the simplest one in this setup. It just performs a nice processing by the
Glare node (
Add → Filter → Glare
) that receives the image from the renderlayer
node and then does a very subtle lifting of the color channel with an RGB Curves
node. But don't let the apparent simplicity of this row make you think it is irrelevant,
because the glare node does the very important task of generaing the streaks to get
the nice looking effect of stars.