Image Processing Reference
In-Depth Information
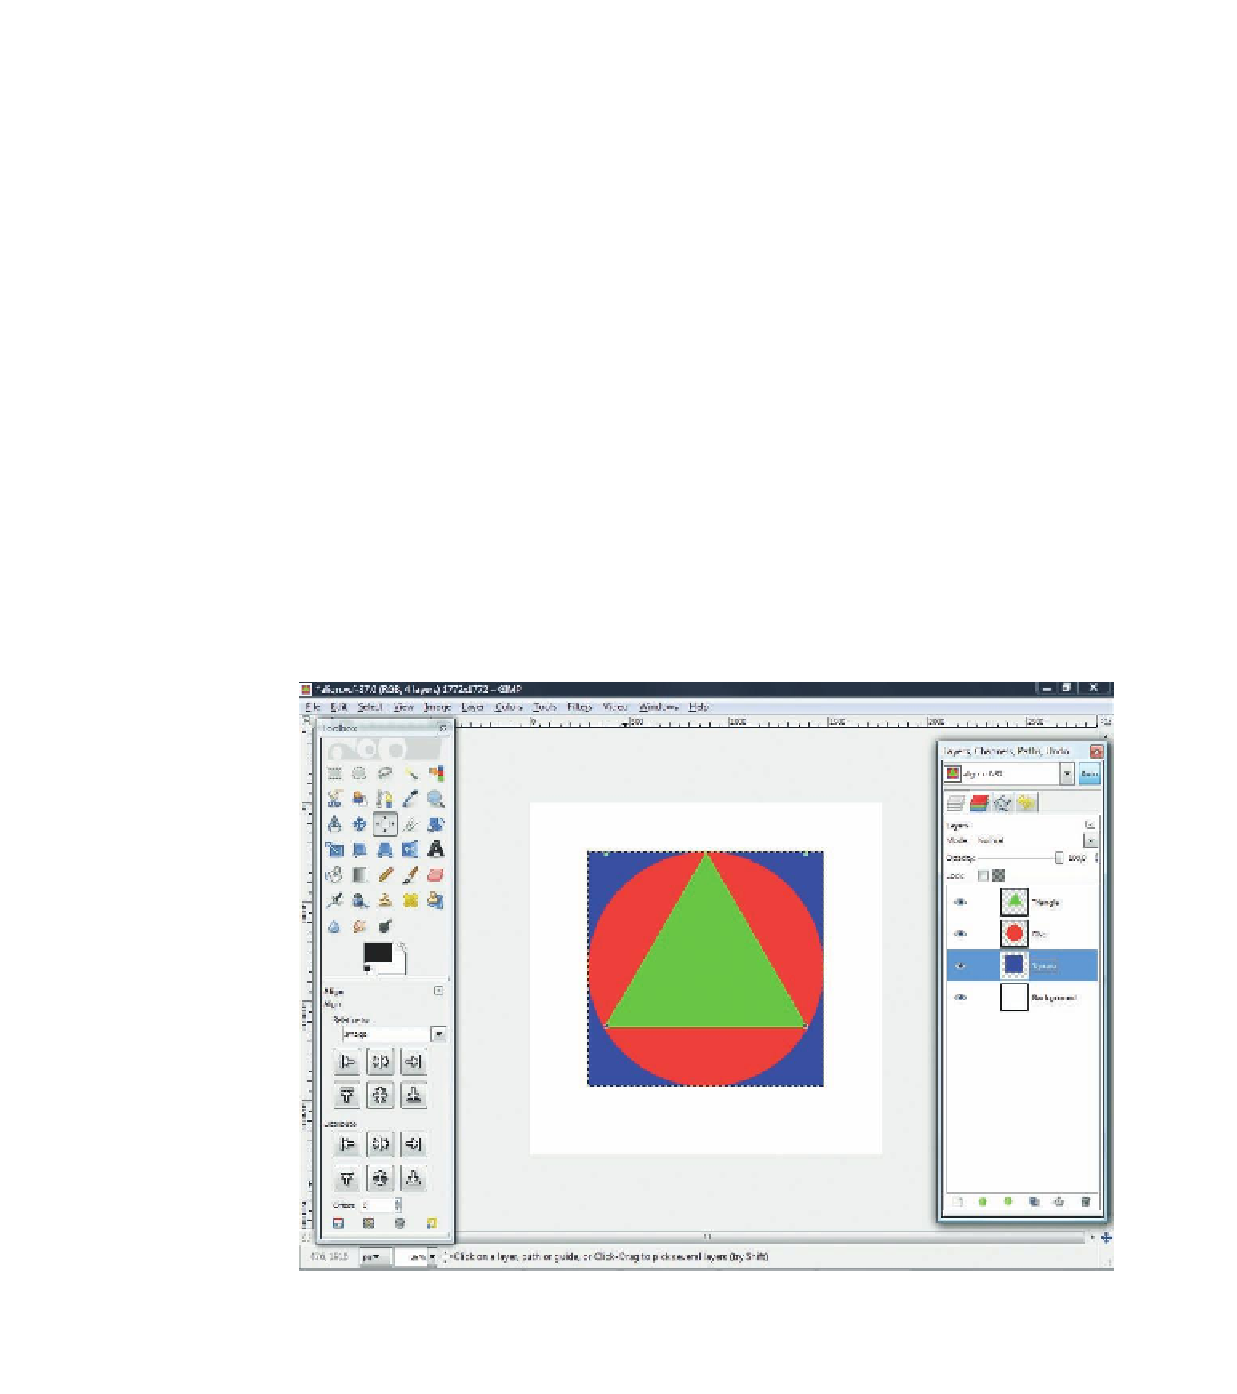
Here is an exercise to show you the essential functions of the
Alignment tool
:
• Open the image
align.xcf
in the
SampleImages
folder on the DVD.
• Then successively activate all layers in the
Layers
dialog and resize them
to the outline size of their image object with the
Autocrop Layer
function
(
Layer > Autocrop Layer
).
• Select the
Alignment tool
in the Toolbox. Click on every image object in
align.xcf
with the tool. Take note that the markers appear at the corners,
enclosing the frame. Alternatively, you can select the objects by using the
previously mentioned rubber band function.
• Activate the Background layer in the
Layers
dialog.
• Select
Active layer
from the
Relative to
drop-down menu in the
Alignment
tool
settings. Then align the image horizontally and vertically by clicking
the corresponding buttons in the tool settings.
• Set the
Square
layer to active in the
Layers
dialog. Select
Active layer
from
the
Relative to
drop-down menu. Using the tool, activate the layer with
the green triangle. Align it vertically at the top.
• Save your image.
It is not very likely that you will be using this tool for usual applications
in image editing or collages. The tool's strengths lie rather in creating logos,
graphics, and navigation buttons used for designing web pages. You will
appreciate the tool when positioning text layers in navigation buttons.
Figure 3.84
Adjusting the Square
layer in the image


Search WWH ::

Custom Search