Graphics Programs Reference
In-Depth Information
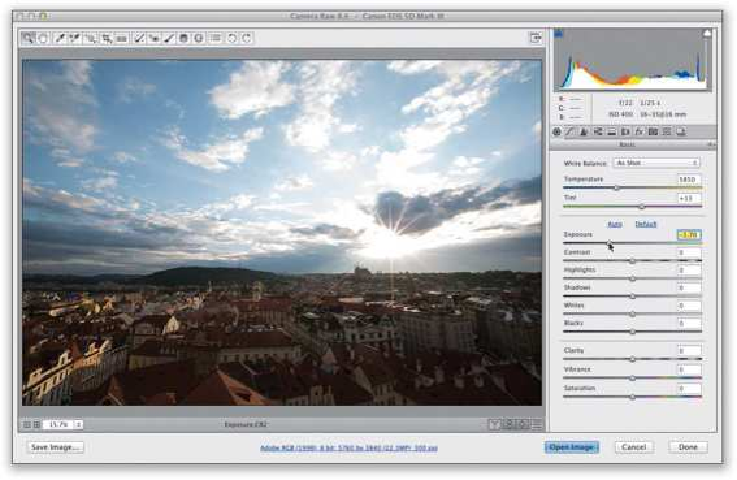
Step Two:
Start by adjusting the Exposure slider. This photo is way overexposed, so drag it to the left
to darken the midtones and the overall exposure. Here, I dragged it over to -1.70 (it looks
a lot better already), but the image is still kind of flat looking, and that's why your next
step should be to adjust the contrast (by the way, although you can drag the Contrast slider
to the left to make things less contrasty, I can't remember an occasion where I wanted my
image to look more flat, so I don't drag to the left. Ever. But, hey, that's just me).
Step Three:
Increase the contrast using the Contrast slider, which makes the bright areas brighter and
the dark areas darker (here, I dragged it to the right to +30, which helped deal with the flat,
low-contrast look). These two steps—adjusting the Exposure and then the Contrast slider
(if necessary)—should be your starting points every time. This top-down approach helps,
because the other sliders build off this exposure foundation, and it will keep you from hav-
ing to constantly keep tweaking slider after slider. So, think of these two as the foundation
of your exposure, and the rest are kind of optional based on the image you're working on.