Graphics Programs Reference
In-Depth Information
The Essential Adjustments #2: Exposure
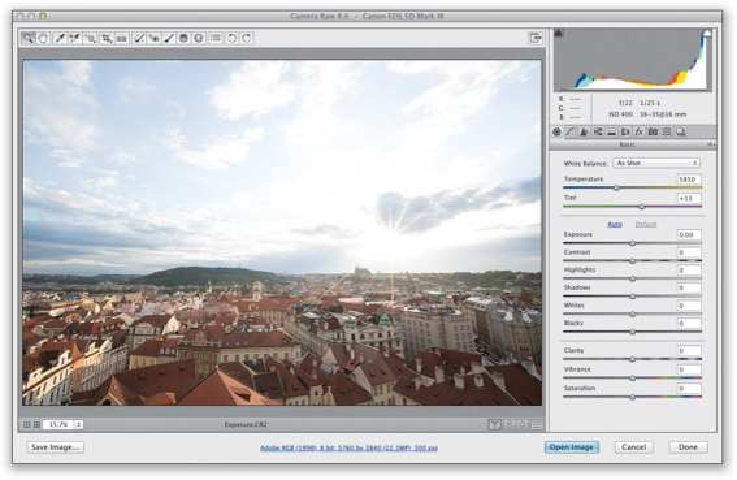
The next thing I fix (after adjusting the white balance) is the photo's exposure. Now, some
might argue that this is the most essential adjustment of them all, but if your photo looks
way too blue, nobody will notice if the photo's underexposed by a third of a stop, so I
fix the white balance first, then I worry about exposure. However, exposure in Camera
Raw isn't just the Exposure slider. It's actually five sliders: Exposure (midtones), Blacks
(deep shadows), Shadows (regular shadows), Highlights (well-named), and Whites (ex-
treme highlights).
Step One:
I recommend (and so does Adobe) starting with the top tonal slider in the Basic panel (Ex-
posure) and working your way down through the other sliders in order, which is a different
workflow than in previous versions of Camera Raw, where it didn't matter too much which
slider you moved when. However, since CS6, it works best if you start by getting the Ex-
posure (midtones) set first, and then if things look kind of washed out, adding some Con-
trast. This photo, well, it's a mess. Taken in harsh, unflattering light, it needs some serious
Camera Raw help.
SCOTT KELBY