Graphics Programs Reference
In-Depth Information
The Essential Adjustments: White Balance
If you've ever taken a photo indoors, chances are it came out with kind of a yellowish tint.
Unlessyoutooktheshotinanoffice,andthenitprobablyhadagreentint.Ifyoujusttooka
shot of somebody in the shade, the photo probably had a blue tint. Those are white balance
problems, and if we properly set our white balance in the camera, we won't see these color
problems (the photos will just look normal), but since most of us shoot with our cameras
set to Auto White Balance, we're going to run into them. Luckily, we can fix them pretty
easily.
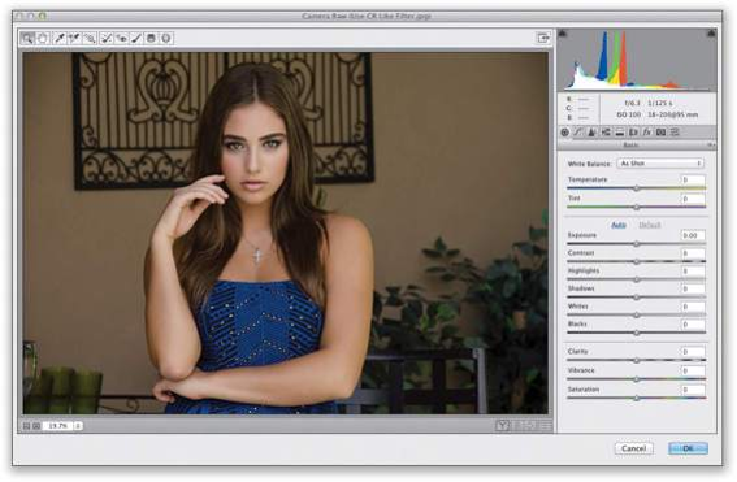
Step One:
The white balance is usually the very first thing I adjust in my own Camera Raw workflow,
because getting the white balance right will eliminate 99% of your color problems right off
the bat. At the top of the Basic panel (on the right side of the Camera Raw window), are the
White Balance controls. If you look to the right of the words “White Balance,” you'll see a
pop-up menu (shown circled here in red), and by default it shows you the “As Shot” white
balance (you're seeing the white balance you had set in your camera when you took the
shot). I had been shooting indoors under regular indoor lighting, so my white balance had
been set to Tungsten, but then I went into the studio and didn't change my white balance,