Graphics Programs Reference
In-Depth Information
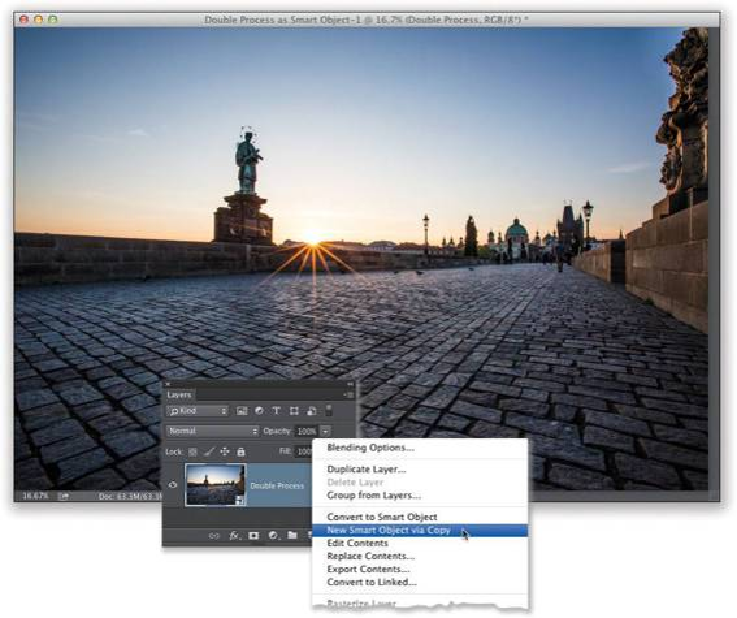
Step Four:
Now, double-click directly on this duplicate layer's thumbnail and it opens this duplicate
in Camera Raw. Here, you're going to expose for the sky, without any regard for how the
bridge looks (it will turn really dark, but who cares—you've already got a version with it
properly exposed on its own separate layer, right?). So, first click the Default link to reset
the sliders to 0, then drag the Exposure slider way over to the left (I went to -0.65), and
drag the Shadows slider to -26 to help darken the sky. I also dragged the Temperature and
Tint sliders a little to the right to warm the color of the sky, and lastly, I left the Clarity and
Vibrance set to what they were. Once the sky looks good, click OK.