Graphics Programs Reference
In-Depth Information
import a 3D gift box with multiple meshes applied to it and change
its status by editing the position of the top box cover using the 3D
mesh tools:
1. Open a new Photoshop document.
2. Create a new layer from the Layer panel.
3. Choose New Layer from 3D File.
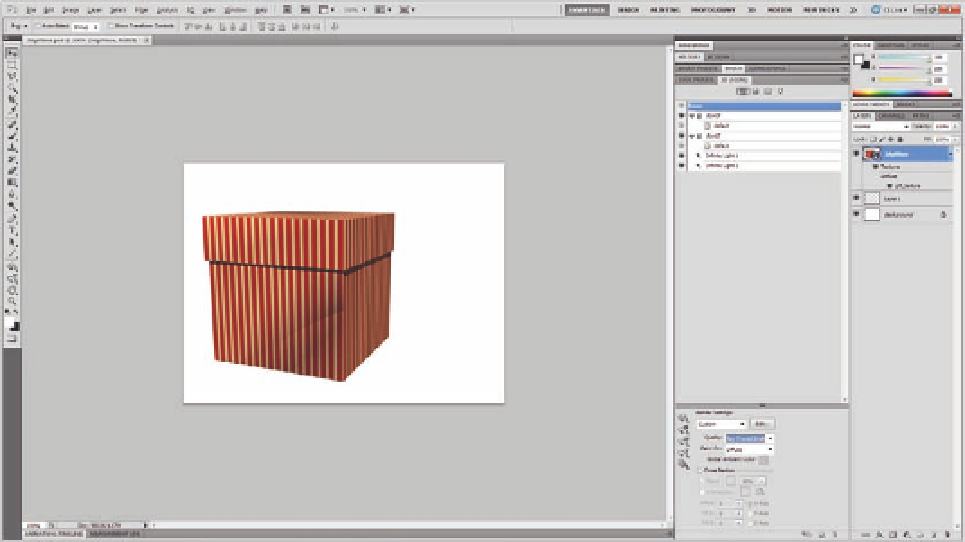
4. Select the ile 3d_giftbox.3ds; the new 3D model is imported in
a new 3D layer (Figure 4.10).
5. Open the 3D panel and choose Filter by Meshes to reveal only
the meshes.
6. Click the Cover mesh layer.
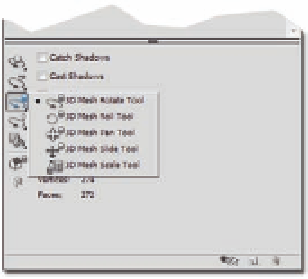
7. Click and hold on the 3D Mesh tool in the bottom meshes
section in the 3D panel and choose the Drag tool.
8. Drag the box cover top away from the box.
9. Choose the 3D mesh rotate tool.
10. Rotate the box to replace the top beside the box (Figure 4.11).
11. In the 3D panel main window, choose Ray Traced as the rendering
option.
12. Make sure that both Catch and Cast Shadows are selected.
13.
Figure 4.9
The 3D mesh control tools in the 3D
panel.
In the 3D panel, choose Ground Plane Shadow Catcher to display the
3D box shadow.
You can apply the same concept of this tutorial to other imported 3D models
instead of opening them in a 3D application for just a small change in the
meshes structure or to edit its position.
Figure 4.10
The 3D gift box in
Photoshop.