Graphics Programs Reference
In-Depth Information
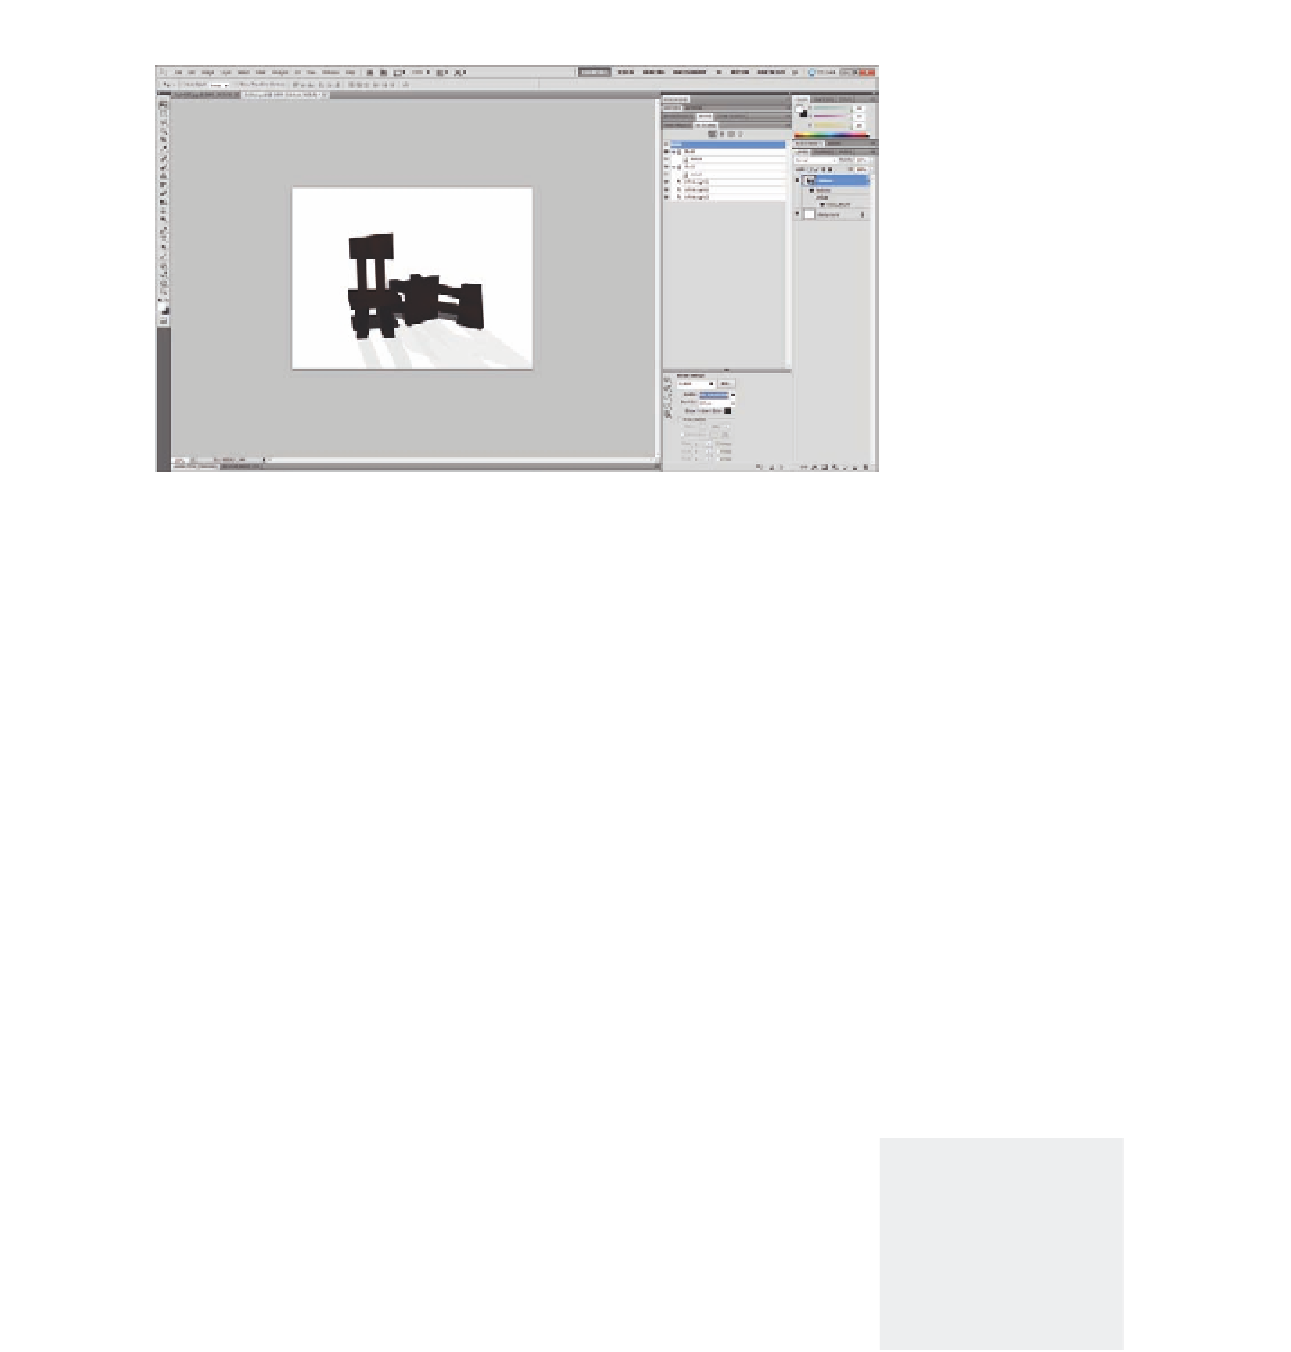
Figure 4.6
Importing a 3D model
to Photoshop.
Editing the 3D Model Meshes
On the left side of the second section in the 3D panel, the 3D control
tools let you easily control and edit the model parts properties, such
as position, rotation, pan, rotation, and scale. Each set of icons in the
3D panel lets you control one of the model resources:
1. The Object 3D tools let you control the 3D model or object in the
3D layer. However, if the model contains multiple meshes, all the
meshes will be afected by using these 3D tools.
2. The Camera 3D tool controls only the cameras on the scene.
3. The Mesh 3D tools controls the individual meshes that are
included in the object.
4. The Light 3D tools control the lights applied to the object.
5. Return to the Initial Mesh Position to reset the changes you created in
the mesh and revert to the original position. You can use this tool to
reset any changes you create in the mesh if you want to go back to the
irst model shape.
6. The Repoussé icon is related to the paths and the text that is converted
to 3D object using the Repoussé feature, which we will cover later.
Figure 4.7
The Catch and Cast Shadows
properties.
Note: You have to make
sure that the correct
layer of the mesh,
camera, or light is
selected to be able to
edit the properties of
these speciic parts.
When you click and hold the 3D mesh control tools, the related 3D control
tools appear to let you choose the 3D tool to rotate, roll, pan, slide, and scale
(Figure 4.9). We discuss in this chapter objects that you can import to
Photoshop and how to work with it and its structure, and we cover how to
use the 3D tools in more detail in Chapter 5.
In the following example, you will see how to use the 3D mesh tools in
Photoshop to control an imported 3D model's mesh. In this example, we will