Graphics Programs Reference
In-Depth Information
more realistic light efect, it afects the performance, as
Photoshop must calculate the light and the applied shadows.
• The Softness value changes the blur of the light edges to
give it softer edges; you can increase the light's softness to
create a more natural light that is not focused on the object.
The Softness values range from 0 to 100%.
• The Hotspot Area is the center of the light, the most intensive
light area, and is presented as an internal cone inside the
light low to the object.
• The Fallof is an external cone that fades around the intensive
area. Increasing the Hotspot Area while decreasing the fallof
angle creates sharp light edges, similar to a light with low
softness values; controlling these two angles allows greater
control over the light's softness and focus. This value is always
higher than the Hotspot Area value. You cannot set the
Hotspot Area value higher than the Fallof value.
• When a light falls over an object, it starts to fade out and the
intensity decreases after a speciic distance between the light
source and object. The Attenuation values specify the inner
distance where the light starts to fade and the outer value
where the light totally fades out.
You can control the light position, rotation, and pan using the 3D
Light Control tools on the left of the light properties. In addition
to the position control tools, you can set the light to point to the
center of the object using the Point Light to Origin. You can also
set the light source to be pointing in the same direction as the
camera view using the Move to Current View icon.
Shortcut: While any of the 3D Light tools is selected, hold
down the Alt key (Option on the Mac) and click anywhere on
the model to change the focus point of the light or its
direction.
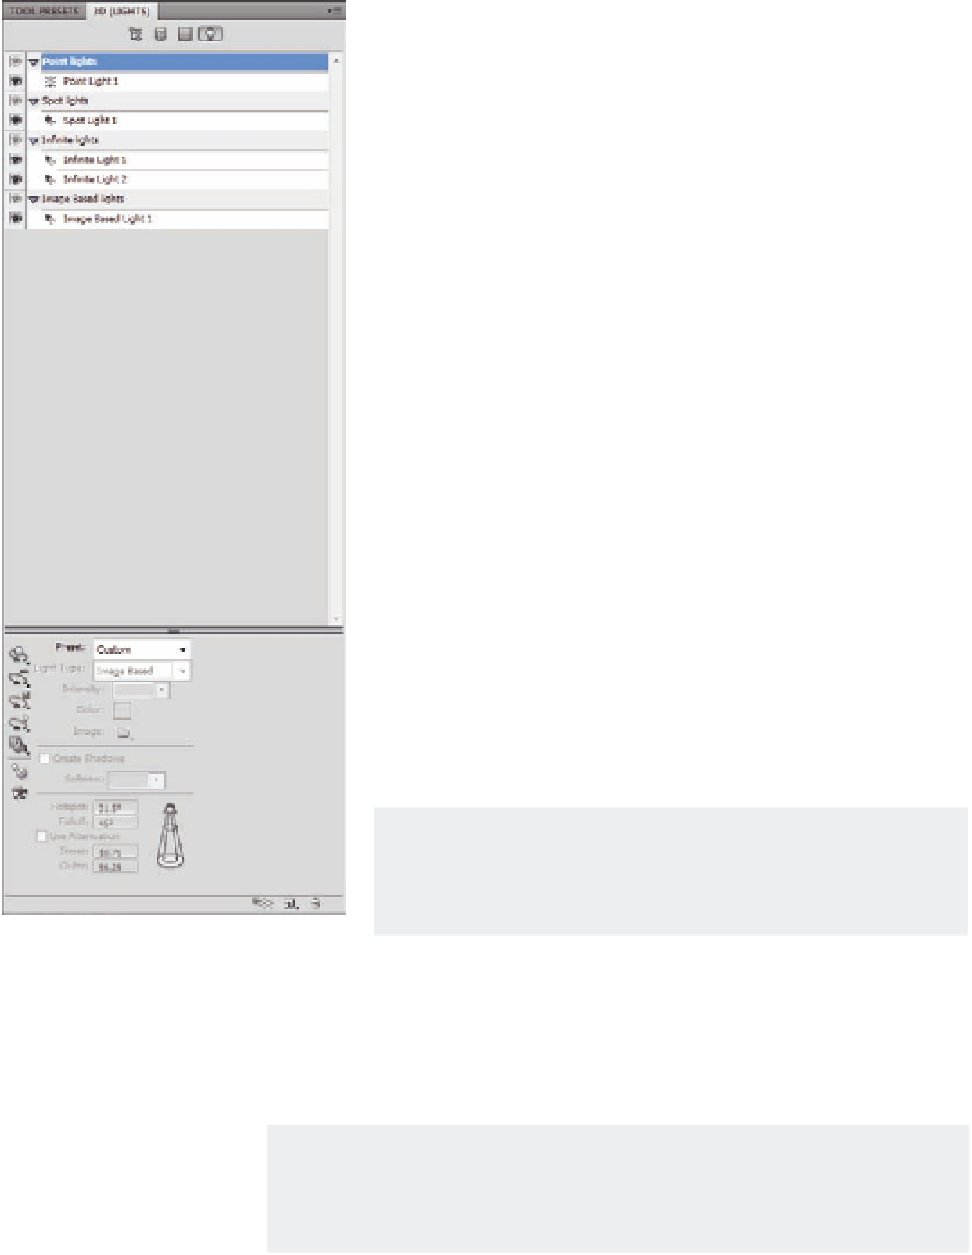
Figure 9.2
The 3D Light options.
These 3D positioning tools are not available in all the light types according
to how they operate. For example, you can only rotate the Ininite light, not
move or pan it, because it is a global light.
The 3D light position tools are helpful to direct the light to speciic areas in
the model or change the current light position.
Note: The Toggle Misc 3D Extras icon in the bottom of the 3D panel lets
you activate the 3D Light guides, or visual indicators, for the light source;
these guides change based on the type of light and help position the light
and control it. It gives a fast guide to the light applied to the object.
In the bottom of the 3D panel, you can create a new light source or delete a
current light source using the Delete icon.