Graphics Programs Reference
In-Depth Information
2.
Select the Coffee Cup layer, and choose File > Place Linked. Select the
Logotype.eps file in the Lesson08 folder, and click Place.
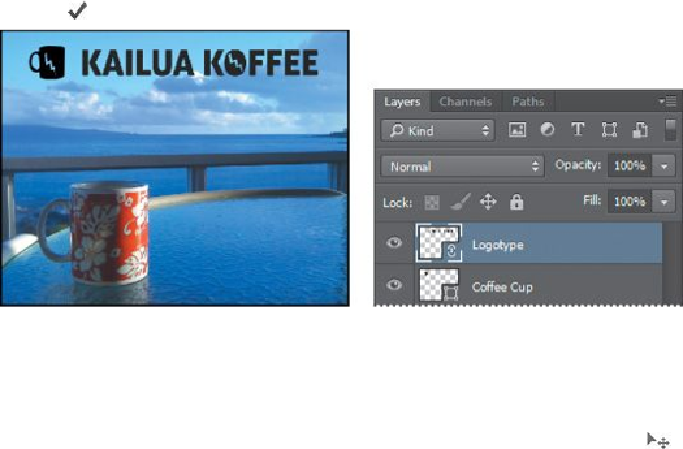
The Kailua Koffee logotype is added to the middle of the composition, inside a
bounding box with adjustable handles. A new layer, Logotype, appears in the Lay-
ers panel.
3.
Drag the logotype object to the upper left corner of the sign just to the
right of the coffee cup logo, and then press Shift and drag a corner to
make the text object proportionally larger—large enough that it fills the
top portion of the image, as in the following figure. When you've fin-
ished, either press Enter or Return, or click the Commit Transform button
(
) in the options bar.
When you commit to the transformation, the layer thumbnail icon changes to re-
flect that the title layer is a linked Smart Object.
As with any shape layer or Smart Object, you can continue to edit its size and
shape if you'd like. Simply select the layer, choose Edit > Free Transform to ac-
cess the control handles, and drag to adjust them. Or, select the Move tool (
),
and select Show Transform Controls in the options bar. Then adjust the handles.
Adding color and depth to a shape using layer styles
You created the shape with a black fill. Now you'll make it snazzier by changing
the fill color and adding a Bevel & Emboss effect.
1.
With the logotype layer selected, choose Color Overlay from the Add A
Layer Style button ( ) at the bottom of the Layers panel.
2.
In the Layer Style dialog box, choose a dark red or burgundy color.