Graphics Programs Reference
In-Depth Information
Previews
If you've got a heavily complex scene, not
like this simple flying logo we're working
on but something really grindingly detailed,
your scene won't look good at all when
played using the animation controls. You'll
have to make a preview first.
can tell LightWave to make a preview of
part of your scene. When you press
OK
to
accept the default values, LightWave
“zings” through the animation, storing the
image of each frame in memory and num-
bering it for easy referencing.
Note
Previews are built from whatever window is
in the
upper-left corner
of the interface. That
window can be any view LightWave has to
offer (even Schematic view — though it'll be
awfully boring).
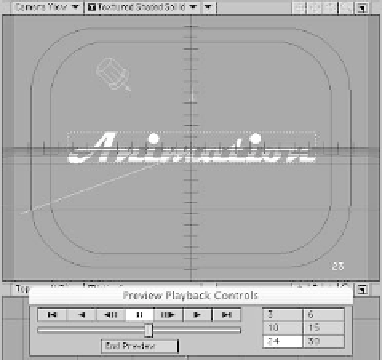
Figure 15-17
When LW is finished building the preview, a
VCR-like control set pops up that you can
use to step-frame or play your animation
forward or backward, looping or stopping at
the ends. You can play your preview at the
frame rates listed, or you can use the little
handle to scrub through your scene to your
heart's content.
Figure 15-16
With the upper-left viewport set to Camera
View, select
Make Preview
from the Pre-
view pop-up menu (next to the animation
controls in the lower-right corner of the
interface). A dialog box opens in which you
Note
Under the Preview pop-up menu, you can also
save your preview as a movie format, using
whatever
codec
(compression format) you set
under Preview Options.
Choosing Play Preview under the Preview
pop-up menu, you can see your preview again
for as long as it is held in memory.
While LightWave is storing your preview in
memory, it is storing it in a
lossless
format,
which can take up a sizable chunk of memory.
Under the Preview pop-up menu, you can also
choose Free Preview to retrieve whatever
memory is being used to hold the preview.