Graphics Programs Reference
In-Depth Information
Click on the
Viewports
tab of the Dis-
play Options window. Click on the
TL
button to affect the top left viewport.
Change View Type to
Perspective
and
Rendering Style to
Texture
. Uncheck all of
the Independent options as shown in Figure
14-87, then click on the
TR
button to
change the top right viewport. View Type
should already be set to
Perspective
.
Change Rendering Style to
Textured Wire
and make sure that the Independent options
are deselected (again as shown in Figure
14-87). Press
OK
to exit the Display
Options window.
Until now, our model has been a standard
polygonal object. At this point, we are going
to activate Modeler's sub-patch mode,
which will smooth out the rough edges and
enable us to easily adjust the mesh.
Press
Ta b
to enter sub-patch mode.
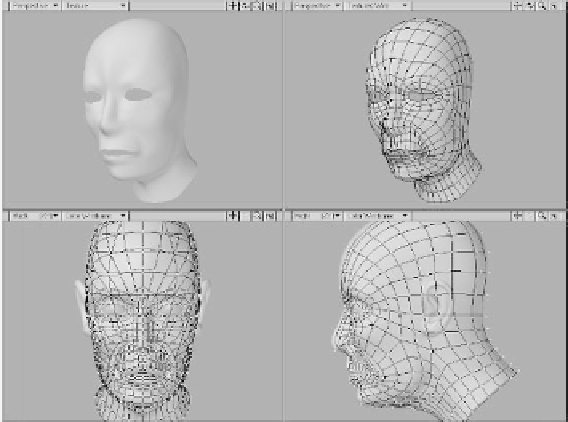
We're now ready to begin modeling.
Take a look at Figure 14-88. The smooth
shaded (no wireframes) view on the left
shows a number of areas with problems.
The region between the brows is pinching
too much. Also, the area where the nose
meets the upper lip needs to be defined
more so that we can build the nostrils. Let's
start by addressing these problems.
1.
Activate Symmetry mode by pressing
<
Y
> or click on the Symmetry button
at the bottom of the interface. Using
the Drag tool (or a similar shaping
tool), adjust the points at the center of
the brows so that they are flush with
the points around them. Then select
the innermost point on the brow and
move it out slightly so that the crease
in the forehead is smoothed out (see
Figure 14-89).
2.
Grab the points where the nose meets
the lip and move them up to help define
the bottom of the nose. Then select the
two points around the nostril region
and move them out and back slightly.
Figure 14-89 shows the points to move
(top) and the effect of moving them
(bottom).
Figure 14-88: Our sub-patched head model.