Graphics Programs Reference
In-Depth Information
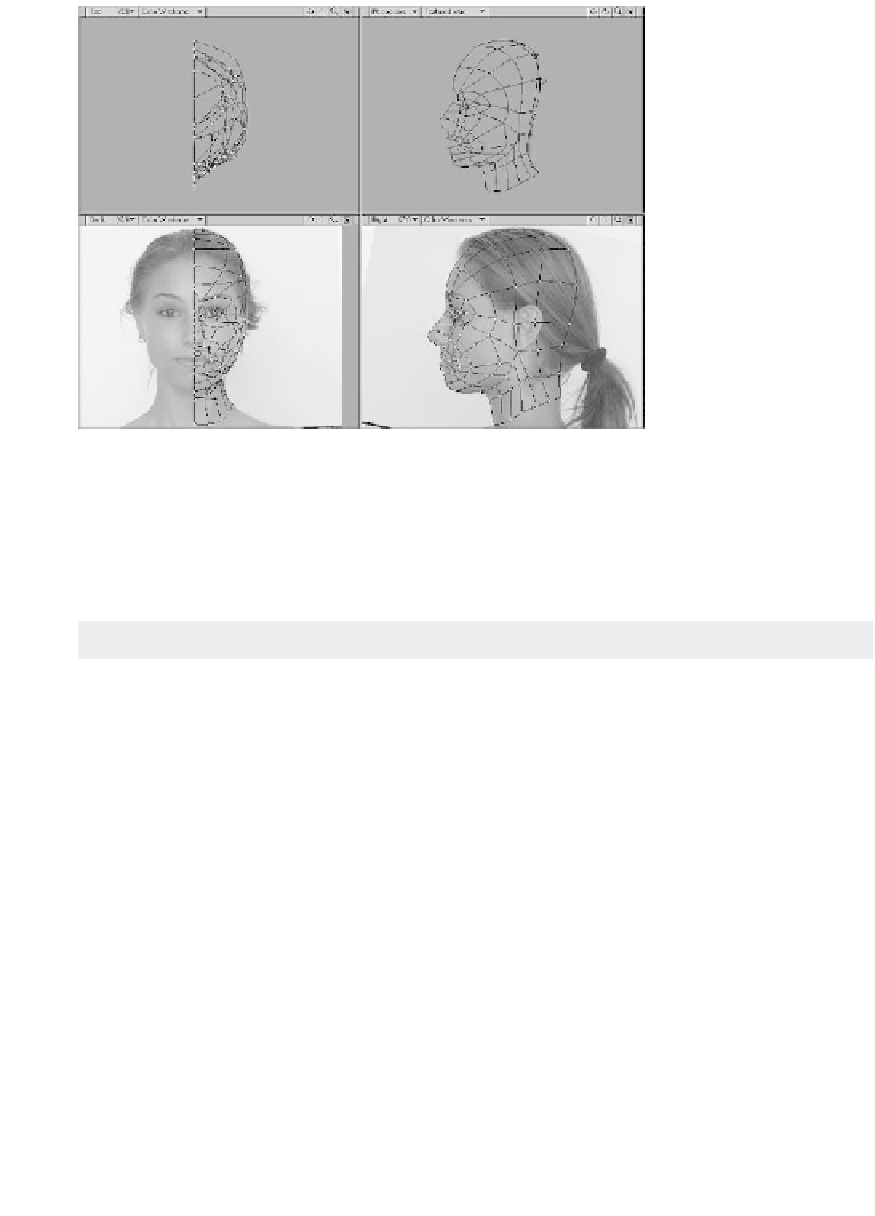
Figure 14-71: The cage we've just built can be quickly modified to create
other head models.
Later in this chapter, we'll patch the cage
and modify the results to ensure optimal
poly count. When you're ready, save your
object with a new name and let's begin by
learning about patching.
Patching Tips and Tricks
•
Tip 1
: Patch in the Perspective
viewport. Trying to select splines in one of
the orthographic viewports can be cumber-
some. To make your life easier, I suggest
working directly in the Perspective
viewport. Click the Maximize Viewport
button to work full-screen within this view.
•
Tip 2
: Patch in Wireframe mode. As
you patch your cage, each region will be
filled with polygons. Unfortunately, Modeler
treats
splines
as polygons. If your view type
is set to one of the shaded views (i.e.,
Smooth Shade, Flat Shade, or even Tex-
tured Wire), Modeler will attempt to select
the polygons on top first and will skip over
the polygons on the bottom. As such, it can
be particularly difficult to select your
We've done a lot of work to get to this
point, but this is where our initial invest-
ment really pays off. Under normal
circumstances, patching our cage would
involve the tedious and painful process of
determining how many perpendicular and
parallel divisions to use for each section of
our cage. No more! Since we've built a quad
cage and partitioned it into similarly sized
segments, we can use the same patch set-
tings for the whole object, making it a
relatively easy procedure.
Easy
, however,
does not mean
foolproof
. There are a num-
ber of problems that can plague the
patching process. Therefore, before we get
started, I'm going to share a few more tips
and tricks with you.