Graphics Programs Reference
In-Depth Information
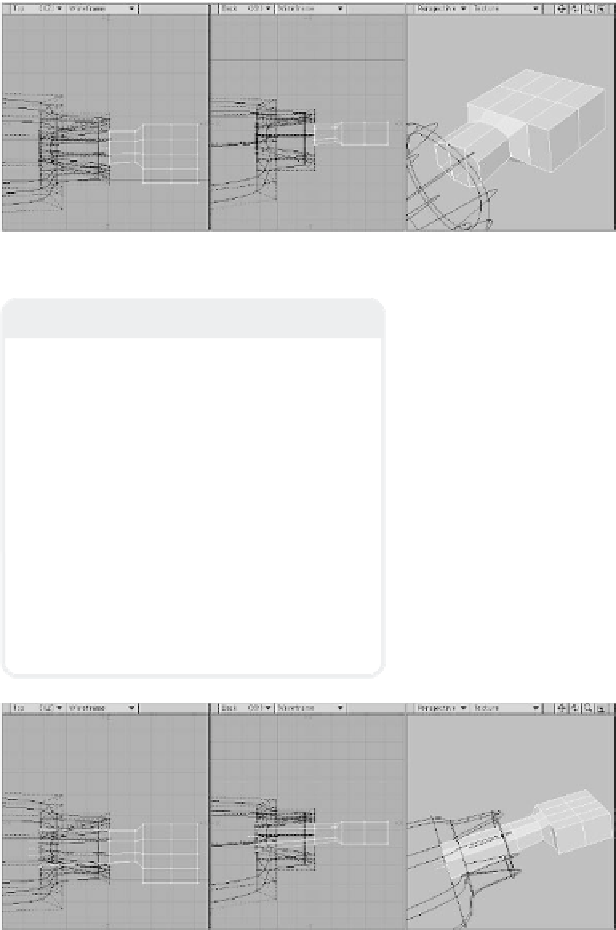
Figure 9-15
13. Now smooth shift and move the sec-
tion to where you terminated the inside
part of the cuff.
14. Select each of the four polys, in turn,
where the fingers will be. Assign each
part names that correspond to the
names of the individual fingers. When
you've done that, select all four
together. (This will allow you to select
each finger by name under the Part
heading of the Polygon Statistics win-
dow later when we're making this thing
look like a hand.)
Note
I've always found it to be a good idea when
modeling characters to have your segments
line up along a plane on an axis like the
segment we positioned in Figure 9-15. This
makes it much easier later on when you are
telling the character's vertices how much to
follow each bone that makes up its skeleton
(
point weighting
).
Remember to not add too much detail at
this phase. We're just roughing in things to
tweak later. We can add the little bumps and
whatnot that make a character look really
good
after
we've been able to view the
model as a whole and make sure the pro-
portions are correct.
Figure 9-16