Graphics Programs Reference
In-Depth Information
Even though I am a big fan of the metric
system, when I build interior sets, my mind
seems only to function in the English sys-
tem of measurements. To me, ceilings are
most easily thought of as being eight or ten
feet high. It's just the way I've been trained,
and I haven't retrained my mind for metric
units. So, my apologies to those of you who
are more comfortable thinking in metric
units, but for the sake of everyone being on
the same page, here's how to change your
settings to English units:
1. Set your Unit System to
English
(
Display Options | Units
) and your
Default Unit to
feet
.
2. Next, set your Grid Snap to
Fixed
and
your Snap Value to
1'
(one foot).
With a sizable, fixed grid snap, we can more
quickly and accurately lay foundation. All
our dragging around of walls, windows, and
whatnot will now perfectly adhere to being
at one-foot intervals, no matter what level
of zoom we are using to inspect the detail of
our set. (We'll change this value as we
work, depending on what we're doing —
sometimes snapping to half-foot intervals,
sometimes to one-inch intervals.)
3.
Two-Point Polyline Work
I lay out the walls of my set with two-point
polylines. They're easy to work with, quick
to resize, and easily transform into what I
need later on.
1.
Make two points on the same axis (X
or Z) and press <
p
> to make a two-
point poly out of them. (You should be
aiming for a straight line along either
the X or Z axis — no diagonals.)
2.
With Polygons as your selection mode,
the polyline you just created should be
selected. (If it isn't, select it now.)
3.
Press <
Ctrl
>+<
c
> and then press
<
Ctrl
>+<
v
> to copy the polyline
and paste a new,
unselected
copy of it
right in its place. (The polyline you
have selected
stays selected
.)
4.
Press <
r
> to rotate your selection 90º
clockwise.
5.
Press <
t
> to move your selection so
that it forms a right angle with the end
of your
unselected
polyline. (See the left
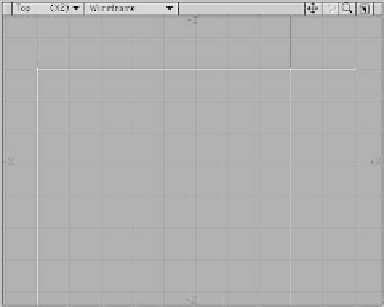
side of Figure 6-1.)
6.
Repeat Steps 3-5 to mimic what is
shown in Figure 6-1.
Maximize the Top viewport by clicking
on its Maximize icon or by placing your
mouse over the viewport and pressing
<
0
> on the numeric pad.
Figure 6-1: What if we don't quite have the end of
one of our walls where we need it to be? There's a
cool tool that lets you click and drag any point of
your selection: Drag.