Graphics Programs Reference
In-Depth Information
2.
Open a photo
.
If you already have an image open when you enter Guided Edit, then it appears in the
main window automatically. If you need to open an image, click the Open button at
the upper left of the window or press Ctrl+O/
⌘
-O and then, in the dialog box that ap-
pears, choose your photo. If you have several photos in the Photo Bin, then you can
switch images by double-clicking the thumbnail of the one you want to work on. (If
the Photo Bin disappears while you're working, just click its button at the bottom left
of the screen to bring it back.)
3.
Choose what you want to do
.
In the panel on the right side of the Guided Edit window, your options are grouped in-
to major categories like Touchups and Photo Effects, with a variety of specific pro-
jects under each heading. Just click the task you want to perform, and the panel dis-
plays the relevant buttons and/or sliders for that task.
4.
Make your adjustments
.
Simply move the panel's sliders and click its buttons till you like what you see. If you
need to adjust your view of the photo while you work on it, use the Hand (
The Hand
Tool and Navigator Panel
)
and Zoom (
The Zoom Tool
) tools in the little toolbox at
the top left of the Guided Edit window.
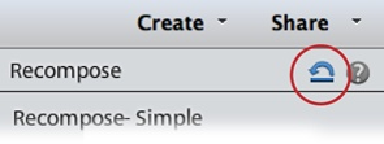
If you want to start over, click the Reset Panel icon circled in
Figure 1-16
.
If you
change your mind about the whole project, click Cancel at the bottom of the panel.
Figure 1-16. Adobe tried to make Elements easy for beginners to use, but it's a pretty good
bet that you won't easily guess the purpose of this strange little icon, which appears in
many places in Elements. This is the Reset button. In Guided Edit and Quick Fix, it's offi-
cially called Reset Panels, which is another way of saying, “Undo everything I've done
since I entered this window.”