Graphics Programs Reference
In-Depth Information
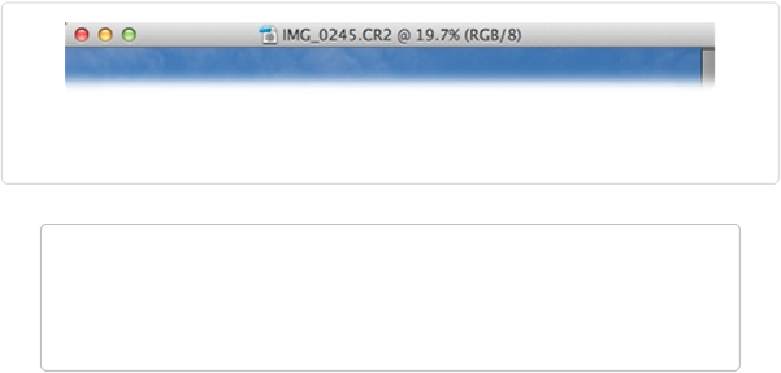
Figure 8-8. You can always tell an image's bit depth by looking at the top bar or tab of its image
window in the Editor. The 8 at the end of this title tells you that this is an 8-bit image.
TIP
If you decide to create a 16-bit image and later become frustrated by your lack of editing
options, then you can convert it to 8-bit by choosing Image→Mode→8 Bits/Channel in
the Editor. (However, you
can't
convert an 8-bit image to 16 bits.)
If you want to take advantage of any 16-bit files you have, you may want to convert
copies
of them to 8 bits, and then use either the Save As command or the Organizer's version-set
option when you save them. That way, you'll still have the 16-bit files for future reference.
(Incidentally, your Save options are different for the two bit depths: JPEG, for instance, is
available only for 8-bit files, because JPEGs are
always
8-bit. Because of this, if you try to
save a 16-bit file as a JPEG, Elements makes you save it as a copy.)
A popular choice when you're thinking about your order of operations (
workflow
, in photo
industry-speak) is to first convert your raw file as a 16-bit image to take advantage of the in-
creased color information and make basic corrections, and then convert to 8-bit for the fancy
stuff like adding artistic filters or layers in the Editor.
Finishing Up
Now that you've got your photo all tweaked, sleeked, and groomed to look exactly the way
you want, it's time to get it out of the Raw Converter. To do that, click the Open Image but-
ton in the Converter's lower-right corner, which sends the image to the Editor, where you can
save it in the format of your choice, like TIFF or JPEG. (Why not click the Raw Converter's
Save Image button? Adobe should probably rename this button, which confuses everyone.
The Save Image button is actually just a link to the DNG Converter discussed in the next
section.)

