Graphics Programs Reference
In-Depth Information
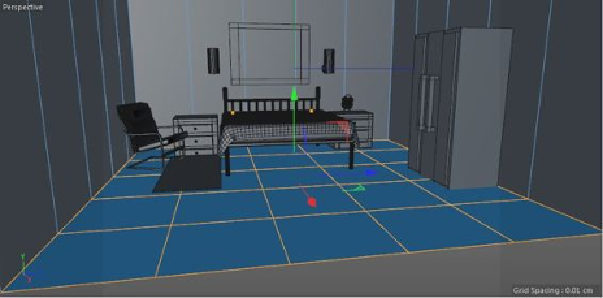
Figure P2-3
The bottom polygons of Room selected
2. Double-click on the empty area in the Material Manager; a new material with the name
Mat
is created in the Material Manager. Next, rename it as
Floor
.
3. Make sure the
Floor
material is selected in the Material Manager. In the Attribute Man-
ager, make sure the
Color
button is chosen. In the
Color
area, choose the browse button
located next to the
Texture
parameter; the
Open File
dialog box is displayed.
4. In this dialog box, browse to
\Documents\c4dr16\Project2\floor.jpg.
Next, choose the
Open
button; the texture is displayed on the material slot.
5. Select the
Floor
material in the Material Manager and drag it on the selected polygons
in the Perspective viewport; the
Floor
material is applied to the selected polygons of
Room
.
6. Make sure the
Texture Tag
“
Floor
”
is selected in the Object Manager. In the Attribute
Manager, make sure that the
Tag
button is chosen.
7. In the
Tag Properties
area, select
Cubic
from the
Projection
drop-down list and set the
parameters as follows:
Length U:
50
Length V:
50
8. Make sure
Room
is displayed in the polygon mode. Next, select the polygons of the walls
and roof in the Perspective viewport using the
Live Selection
tool, refer to Figure P2-4.
Search WWH ::

Custom Search