Graphics Programs Reference
In-Depth Information
5. Click on the eye icon of the
Layer
layer in the
Layers
panel to turn off its visibility.
6. Choose
File > Save As
from the main menu; the
Save As
dialog box is displayed.
In this dialog box, enter
textureEraserColor
in the
File Name
text box. Next, select
Photoshop (*.PSD; *.PDD)
from the
Format
drop-down list. Next, browse to
\Docu-
ments\c4dr16\c09
and choose the
Save
button; the file is saved at the specified location.
Next, you will switch back to CINEMA 4D and apply the texture created in Photoshop to
Eraser
.
7. Choose
File > Open Texture
from the Texture View menu; the
Open File
dialog box is
displayed. In this dialog box, browse to
\Documents\c4dr16\c09\textureEraserColor.psd
and then choose the
Open
button; the texture is displayed in the Texture View.
8. Maximize the Perspective viewport. Hover the cursor over the Perspective viewport
and then press O to frame the eraser in the scene. Double-click on
Texture Tag
“matEraser”
in the Object Manager; the
Color
area is displayed in the Attribute Man-
ager. In the
Color
area, choose the browse button located next to
Texture
; the
Open
File
dialog box is displayed.
9. Browse to
\Documents\c4dr16\c09\textureEraserColor.psd
; the texture is applied on the
Eraser
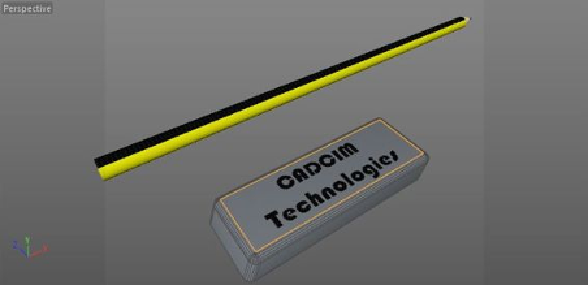
in the Perspective viewport, as shown in Figure 9-23.
Figure 9-23
The texture applied to Eraser
Saving and Rendering the Scene
Search WWH ::

Custom Search