Graphics Reference
In-Depth Information
9. Add some color correction to your element layer to make it blend better with
the background. The preceding screenshot used both the
Curves
effect and
the
Hue/Saturation
effect.
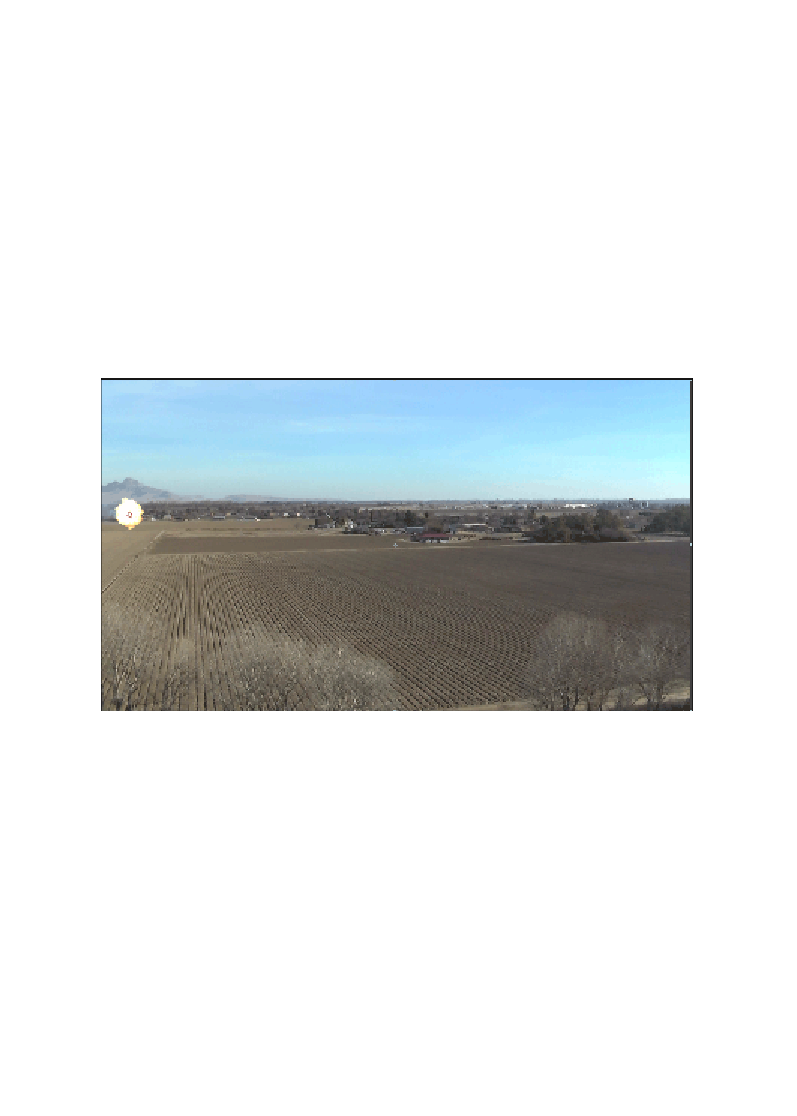
10. Now, we add a point light that mimics the Sun (slightly orangey-yellow)
and an ambient light that is of the same color. Adjust their position and
intensity to match the environment as closely as possible.
11. The
Flight Kit
has a lot of footage of aerial explosions. We're going to use
Aerial_Explosion_02.mov
and have that explosion happen when the plane
hits its target. Remember that the explosion doesn't happen after the plane
crashes but while it crashes. Therefore, have some overlap, and as soon as
the explosion is big enough, cut your Element layer (so the plane is no longer
in your scene). Also, use the transfer mode
Add
for the explosion. The result
should look similar to what is shown in the following screenshot:
12. Now, create a solid black 3D layer.
13. Cut out the shape of a plane (from the top view), and copy the plane's
null's X and Z keyframes, and paste them on the black layer.
14. Rotate it so it's flat. This is going to be our shadow.
15. Put a pretty severe blur on it, and bring its opacity down to around 20.
16. Now, with your timeline marker over one of the position keyframes,
select all the keyframes for the mask, and position it under the plane.