Database Reference
In-Depth Information
21.
Change the properties for
Red
,
Green
, and
Blue
to
33
,
FF
, and
FF
, respectively.
22.
Click
OK
to close the dialog box.
23.
Change the
Focus size
to
75%
.
24.
On the left side, click the
Drop Shadow
check box to select it.
With it selected, we will accept the default values.
25.
Click the
Images
check box to select it.
26.
At the bottom of the dialog box, click
New
to add an image in the background.
27.
Click the
Browse
button to open the dialog to select the image.
The logo we will select is stored in the sample data in the images directory.
28.
Click
logo_great_outdoors.gif
to select it.
29.
Click
OK
to close the dialog box.
30.
Set the
Transparency
property to
75%
.
31.
Under the
Position
drop-down list, click the
Align Middle Center
button.
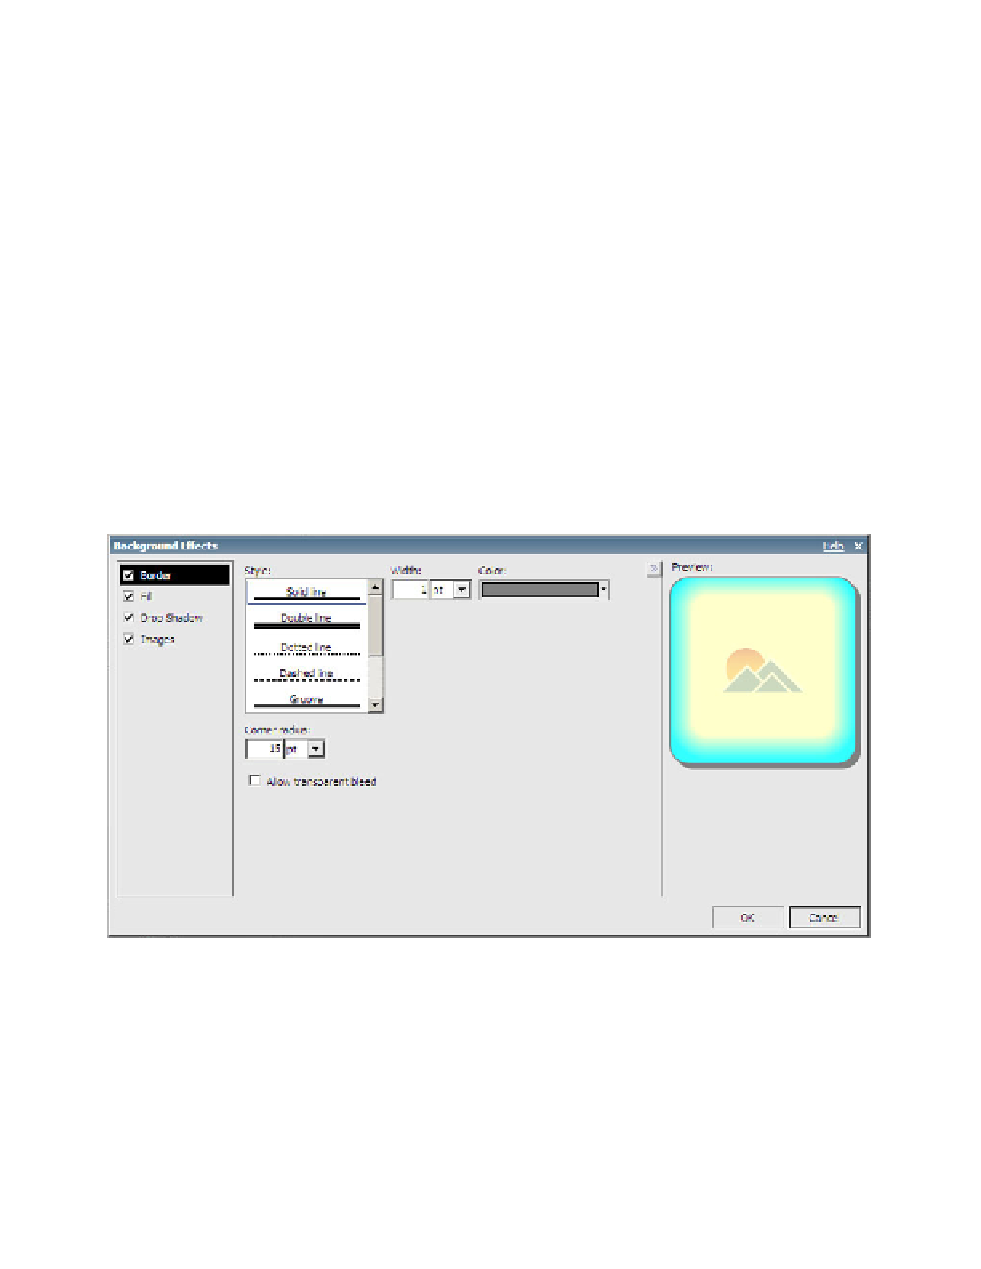
The Background Effects dialog box should look like Figure 6.46.
Figure 6.46
Formatted block background
32.
Click
OK
to close the dialog box.
NOTE
In the information pane below the
Properties
pane, notice that it says that
objects using background effects must have a fixed height and width. Along with the align-
ment of objects, we will also be creating a fixed-size block.