Graphics Programs Reference
In-Depth Information
8.
Start the Component tool again and from the Type Selector, choose the family named
Pendant Light - Linear - 1 Lamp and use the type named 96” - 120V. Place one fixture
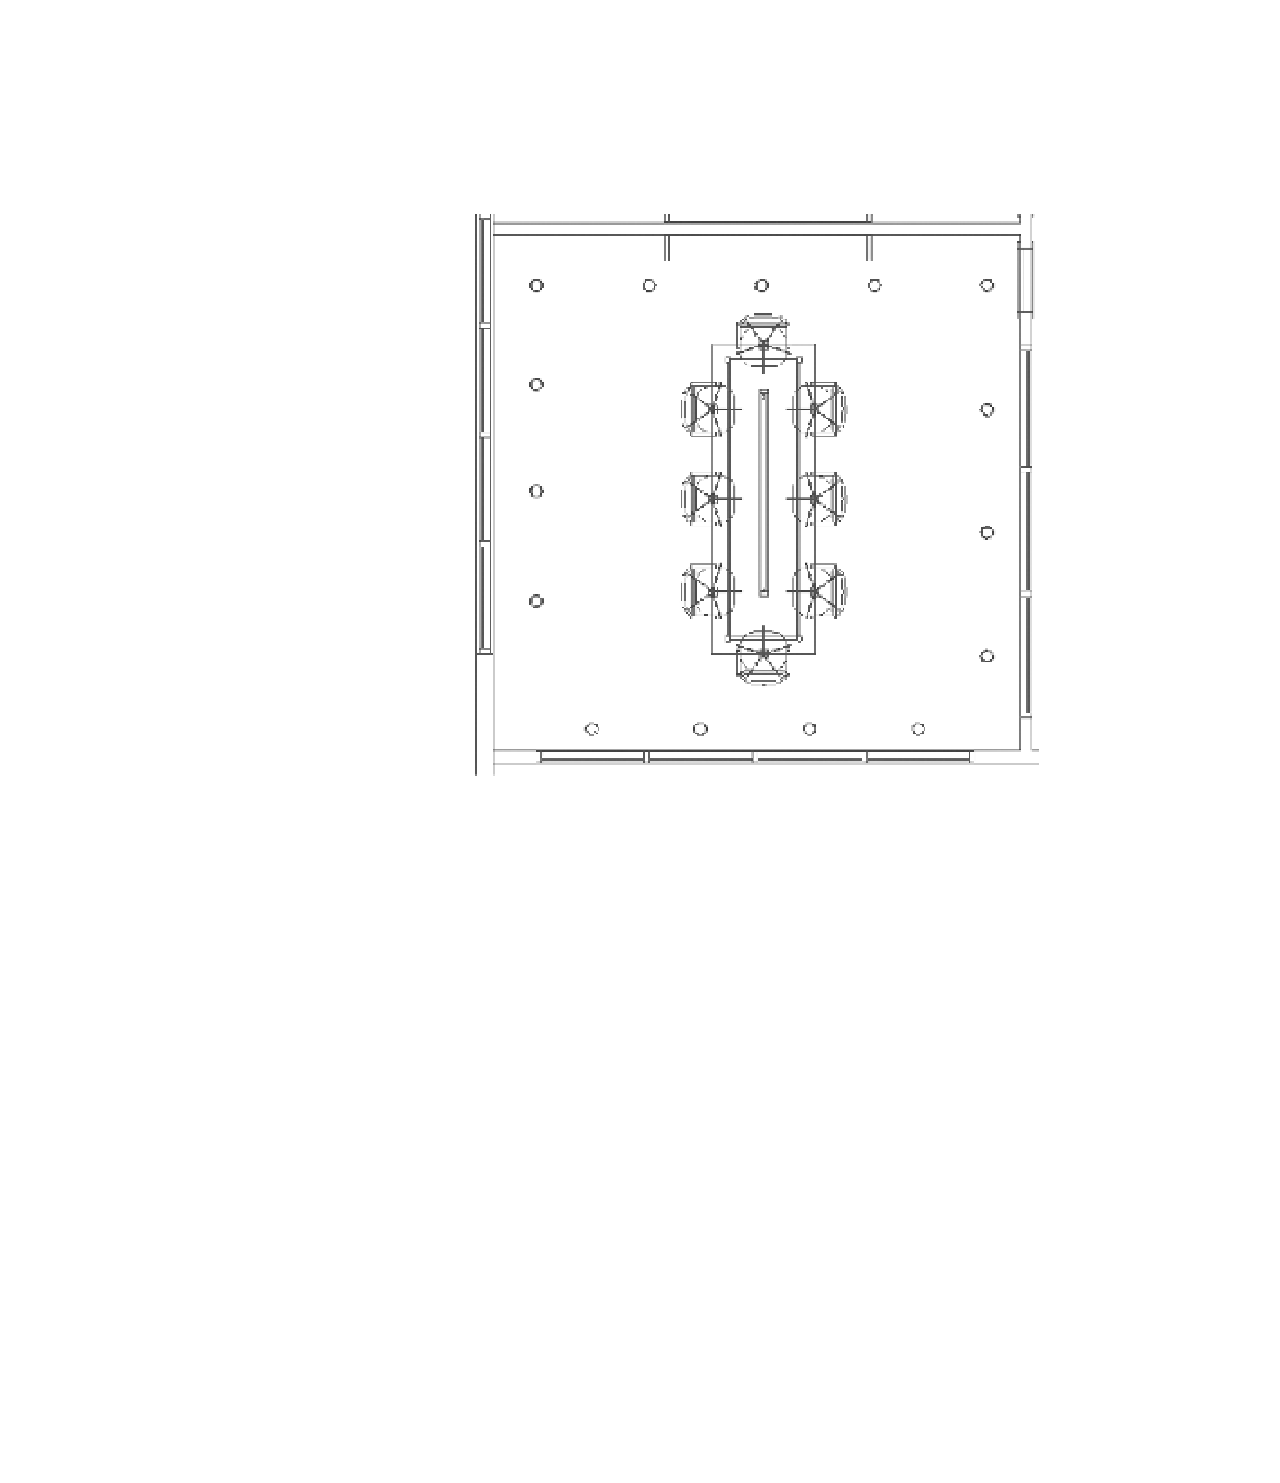
over the conference table, as shown in Figure 11.77. You may need to rotate the fixture for
proper alignment.
Figure 11.77
Placing the light fixture
over furniture
The pendant light fixture family has a lens, but it is not assigned to a subcategory that
can be turned off when necessary. In the next series of exercise steps, you'll assign the
lens to a new subcategory in order to test a rendering with the lens turned off. First, open
the Visibility/Graphic Overrides dialog box, and expand the Lighting Fixtures category.
You will notice that the only subcategories are Hidden Lines and Light Source. This will
change in a moment when you add Lens to the list.
9.
Select the linear light you placed over the conference table and click Edit Family in the
contextual tab of the ribbon to open the family in the Family Editor. Activate the 3D view
named View 1.
10.
In the 3D view, orbit the model so that you can see the bottom of the light fixture. Select
the main cylindrical extrusion and from the view control bar, click the sunglasses
icon, and choose Hide Element. You will then see a rectangular extrusion that runs the
length of the fixture. Select that extrusion and in the Properties palette you'll see that
the Subcategory value is None, but the material is set to Glass - White, High Luminance.
Actually, it is assigned to a type parameter named Diffuser Material; however, this
doesn't help because we are overriding the material of all model objects using the abstract
phasing filter we discussed previously in this chapter.