Graphics Programs Reference
In-Depth Information
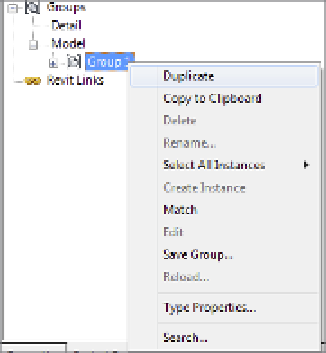
Figure 10.40
duplicating a
group
Return to the plan view and select your group. Notice in the Type Selector that you can swap
between groups in the same way you can swap between types within a family. Choose Group 2
in the Type Selector so you have one of each group type on the screen.
With Group 2 still selected, click Edit Group from the contextual tab in the ribbon. Edit it by
making it 13'-6” square (4 m), as shown in Figure 10.41; then finish the group.
Figure 10.41
Modifying the
second group
type
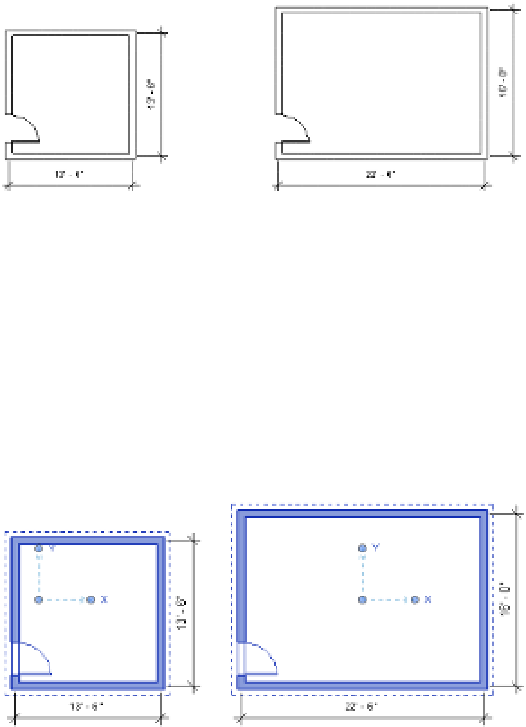
Groups have insertion points that you need to consider before you exchange one group for
another. When you create a group, the insertion point is initially at the geometric center of all
the elements in the group. The group's origin is also identified by
x
- and
y
-coordinates.
But keep in mind that as you edit the group, the insertion point doesn't move until you
deliberately relocate it. This can be seen in Figure 10.42; editing the geometry for Group 2 retains
the same insertion point that was active when the group was initially created. Even though
we've modified the group, the insertion point remains where it was originally when the group
was created. (When editing this group, the left wall was moved to the right and the top wall was
moved down to achieve the dimensions.)
Figure 10.42
insertion points
in different
groups