Graphics Programs Reference
In-Depth Information
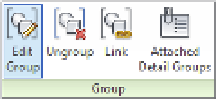
Now select the group to the left (the one with the new door) and click Edit Group from the
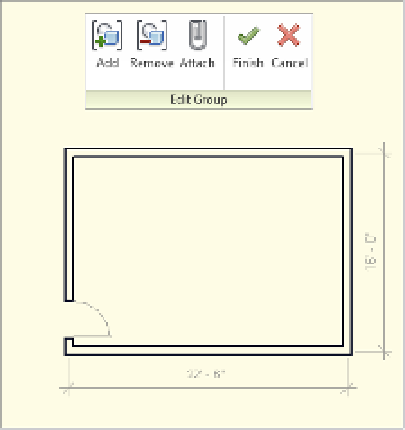
Group panel in the contextual tab of the ribbon. You'll enter a special editing environment,
shown in Figure 10.38, and the non-grouped elements will be grayed out. The screen overlay
color alerts you that you are in Edit Group mode. Here you'll be able to add, remove, and attach
other elements to your group.
Figure 10.38
edit group mode
Now add the door to the group by selecting the Add function from the Edit Group panel.
You'll notice that you can't add the door numbers because this is a model group and tags are 2D
components. Now finish the group by selecting the Finish button (the green check), and you'll
notice that both groups now have a door in the same location (Figure 10.39).
Figure 10.39
Finished group
The process is essentially the same for modifying any group: Start the Edit Group mode,
make the changes and/or additions, and then finish the group.
Creating New Groups
Sometimes the easiest way to make a new group is to copy and modify an old one. A quick way
to do this is to right-click the name of the group you want to duplicate in the Project Browser and
choose Duplicate from the context menu, as shown in Figure 10.40. Complete this command
and make sure the new group is named Group 2 in the Project Browser.