Graphics Programs Reference
In-Depth Information
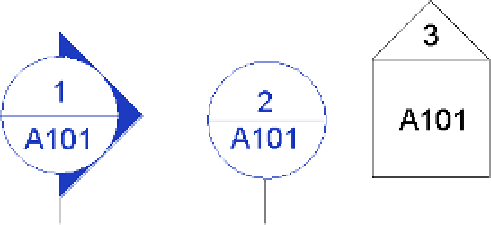
Figure 4 .36
The default tags
Creating a Custom Section Tag
In the next exercise, you will create a section tag that looks like the one shown in Figure 4.37.
You'll first need to create a section tag family using the Family Editor before loading the section
tag family into the template. You can download the template iles from this topic's website if you
can't find them in the default location.
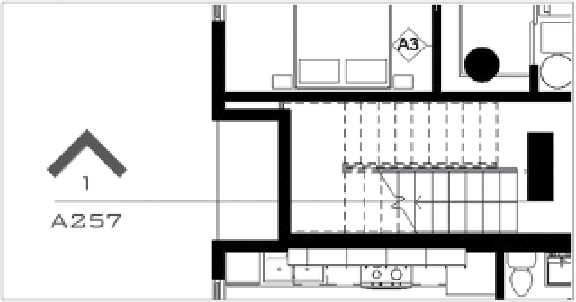
Figure 4 .37
Customizing the
section tag
To begin, follow these steps:
1.
Click the Application menu, and select New
➢
Annotation Symbol.
2.
In the Open dialog box, select the family template called Section Head.rft or Metric
Section Head.rft, and click Open.
The Family Editor environment automatically opens, and the drawing area shows a view
in which three green reference planes (two vertical and one horizontal) have already been
drawn. Do not change the position of either the horizontal reference plane or the vertical
reference on the right. In some templates, this is indicated with help text in red (which
you can later remove).
The intersection of the horizontal and the right reference planes defines the connection
location with the section line. This means your annotation will be located in between the
two intersections points.
A proposed geometric shape is drawn for the annotation: a circle (two arcs) and a hori-
zontal line. The default shape is there to help you visually understand where to begin
drawing your new tag geometry.