Graphics Programs Reference
In-Depth Information
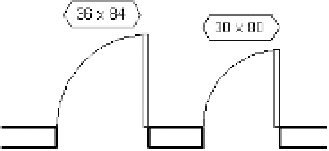
Figure 4.34
he custom tags
applied to doors
comprise actual
door sizes.
Set Some Defaults
To aid the users of your custom templates, take some time to establish default values for common
elements, such as doors, windows, rooms, grids, sheets, and levels. Create one of each element and
change the mark value to a number just below the value at which you'd like your users to begin. as
an example, enter a value of
0
if you want your users to begin with 1. unfortunately, this approach
does not work for letters because nothing comes before
A
.
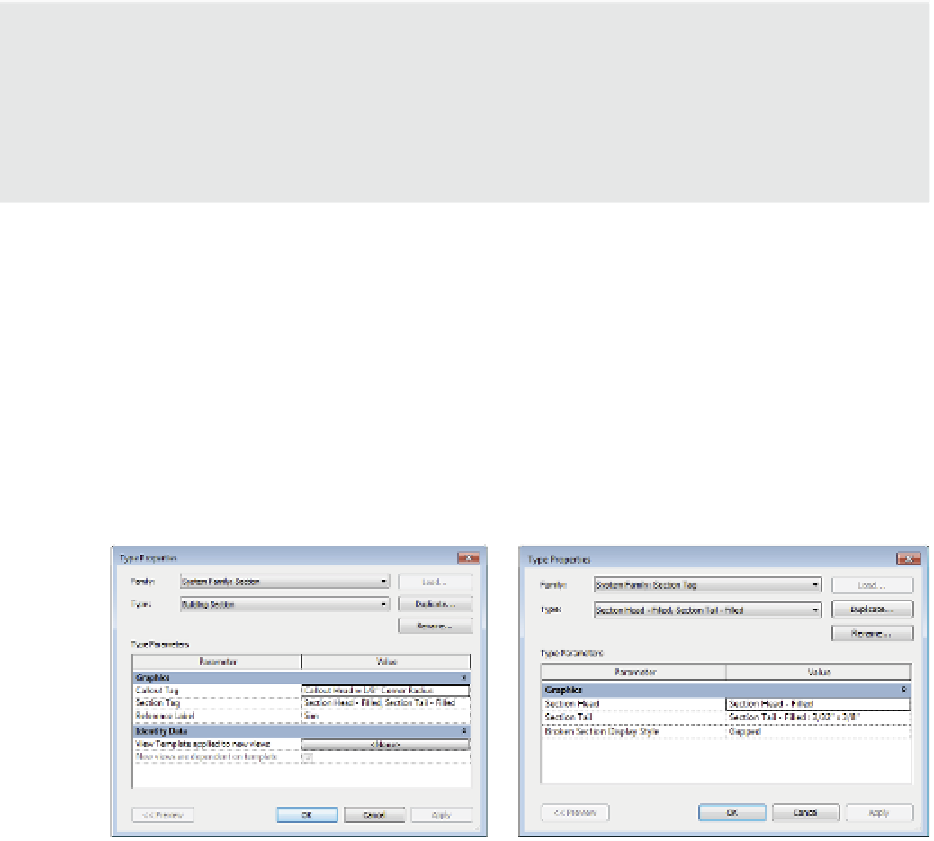
Customizing View Tags
Section, callout, and elevation tags are graphic indicators that reference (link to) other views
in your project. The graphics for these elements can be customized to meet most scenarios.
To create a custom section tag, for example, you have to first create a custom section tag
family and a section tail family and then load them into a template or project. You must then
associate them with a section tag system family type, which is then assigned to a section type.
Switch to the Manage tab, and choose Additional Settings
➢
Section Tags; you will see the
application of separate section head and tail families in a section tag system family type, as
shown in Figure 4.35.
Figure 4 .35
Creating a sim
type section tag
In simple terms, view tags are organized in the following hierarchy: The view type refers to
a Callout Tag type (and a Section Tag type for section views); the Section Tag type then refers
to a section head family and a section tail family.
By default, there is a predefined view tag for each view type. The graphics can vary
depending on the language version of Revit you have installed on your machine. The view tags
shown in Figure 4.36 are displayed and available by default in the U.S. English version.