Game Development Reference
In-Depth Information
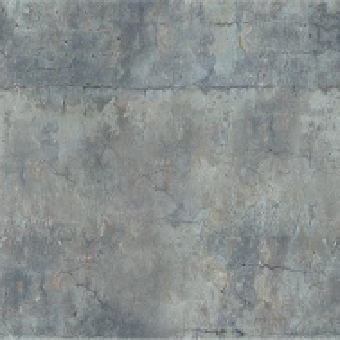
Figure 4.5
Results of the High Pass filter.
Step 7:
With EntryWay_DockColor still open, choose File>Open and open
the original file used as the base texture (in my case ConcreteBare0312_S ).
This will become our source image.
Step 8:
Go back to EntryWay_DockColor (Window> EntryWay_DockColor).
Step 9:
Match color. Choose Image>Adjustments>Match Color. At the
bottom of the Match Color dialog box, choose ConcreteBare0312_S (or
your image) in the Source drop-down menu. Press OK (
Figure 4.6
).
Figure 4.6
Matching color to unify texture's color fields.
Step 10:
Test the texture in Photoshop. Do this by again selecting
Filter>Other>Offset and moving the sliders around to all sorts of different
values. The result should remain seamless; the seams that once were there
should never be seen.
Step 11:
When satisfied, save.
Apply the Texture
Step 12:
Open Maya (make sure the project is appropriately set) and open