Game Development Reference
In-Depth Information
Why?
Making a quick planar projection ensures that all the polygons of
the head have UVs (remember that this cannot be assumed). By
projecting straight on from the Z-axis and making sure that it fits
the Bounding box of the poly shapes, the most important polygons
(those across the character's face) will have the most accurate
projection from the start.
Step 41:
In the UV Texture Editor move this new shell away from the
quadrant and other shells so it can be worked on.
Step 42:
Cut the edges across the top and back of the head.
Figure 9.30
shows the edge selection to make in the view panel; it
should start at about the hairline in the front and run clear to the end
of the back of the neck. In the UV Texture Editor select Polygons>Cut
UV Edges.
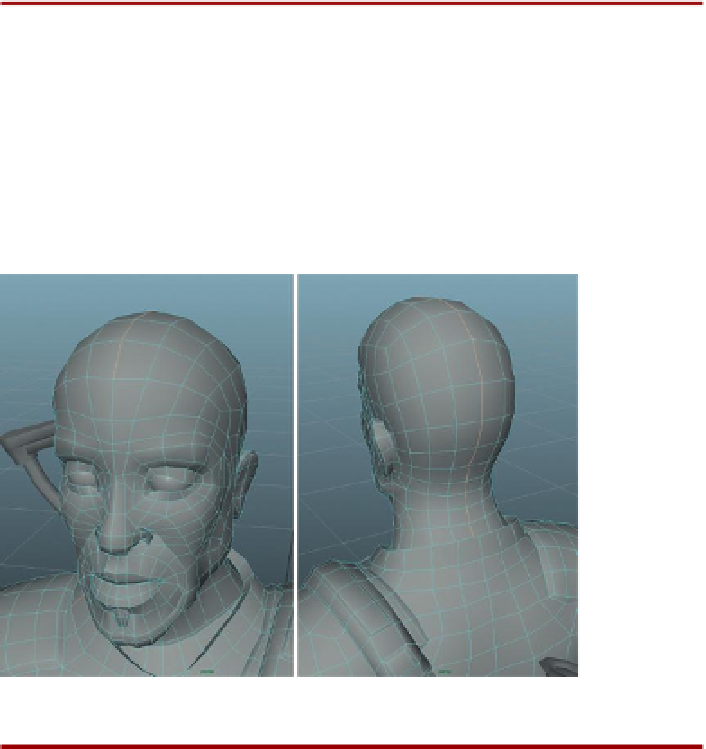
Figure 9.30
Selecting the edges
to cut.
Why?
We are about to use Maya's handy Smooth UV tool again with its Unfold
options. However, we need to make a slice in the head to give this head a
place to split as it unwraps the form from 3D to 2D.
Step 43:
Remove potential problem areas—the oral cavity and nostrils.
Again, the idea here is to cut edges. This time though cut rings of edges.
Figure 9.31
shows two selections. The first is a ring of edges just inside
the lips; the second are two rings just inside the nostrils. Once these two
selections are made in the view panel, go to the UV Texture Editor and
select Polygons>Cut UV Edges. Move the two shells (for the nostrils and
the oral cavity) away (
Figure 9.32
).