Game Development Reference
In-Depth Information
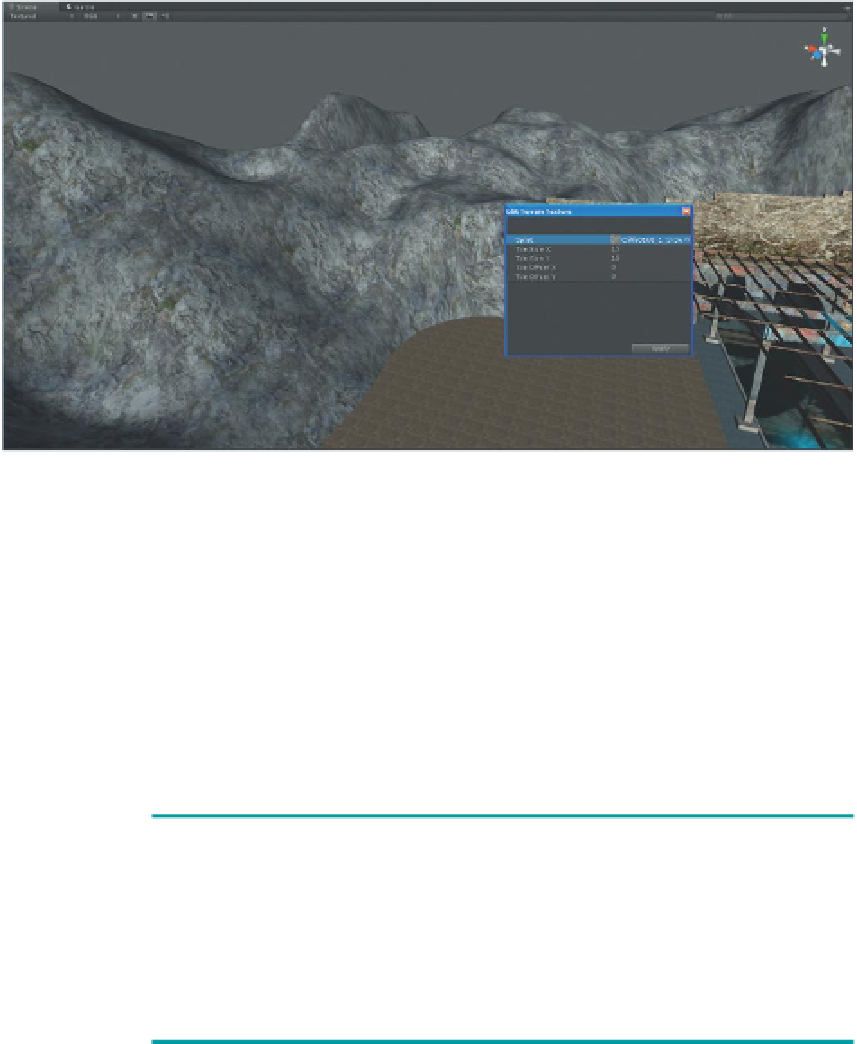
Figure 6.17
Result of adding the first terrain texture.
Why?
When a first Terrain Texture is added to the available textures, that texture
is automatically plastered over the entire terrain. This seems awfully
forward of Unity, but since there will be lots of other textures painted over
this one, it's not a bad strategy and can save a lot of time in the long run
to have a base texture applied.
However, the size of the texture as plastered across the terrain may not be
quite right.
Step 14:
Adjust the Terrain Texture size. Still with the Terrain selected
in the Hierarchy, click the Terrain Texture in the Inspector. Click
the Edit Textures… button and the Edit Texture… option. In the
Edit Terrain Texture window, change the Tile Size X and Tile Size Y
settings from the default 15 to 5 (or whatever looks best in the scene
(
F
igure 6.18
)).
Tips and Tricks
Remember that there are two ways of looking at the scene. The first is
via the Scene view, but the second is the more important—the Game
view. Be sure to check out changes in terrain textures in the Game
window as well. That's the only way the player will see the scene and
sometimes things that look good in Scene don't look as good in Game.
Step 15:
Find a cliff-side texture, make it seamless, and import it as a
Terrain Texture (note this is a repeat of steps 10-14). I am using
http://
cgtextures.com/texview.php?id=49431
.