Graphics Programs Reference
In-Depth Information
◗
3.
Click the
Servers
tab, edit your server, and then select the
Advanced
tab.
◗
4.
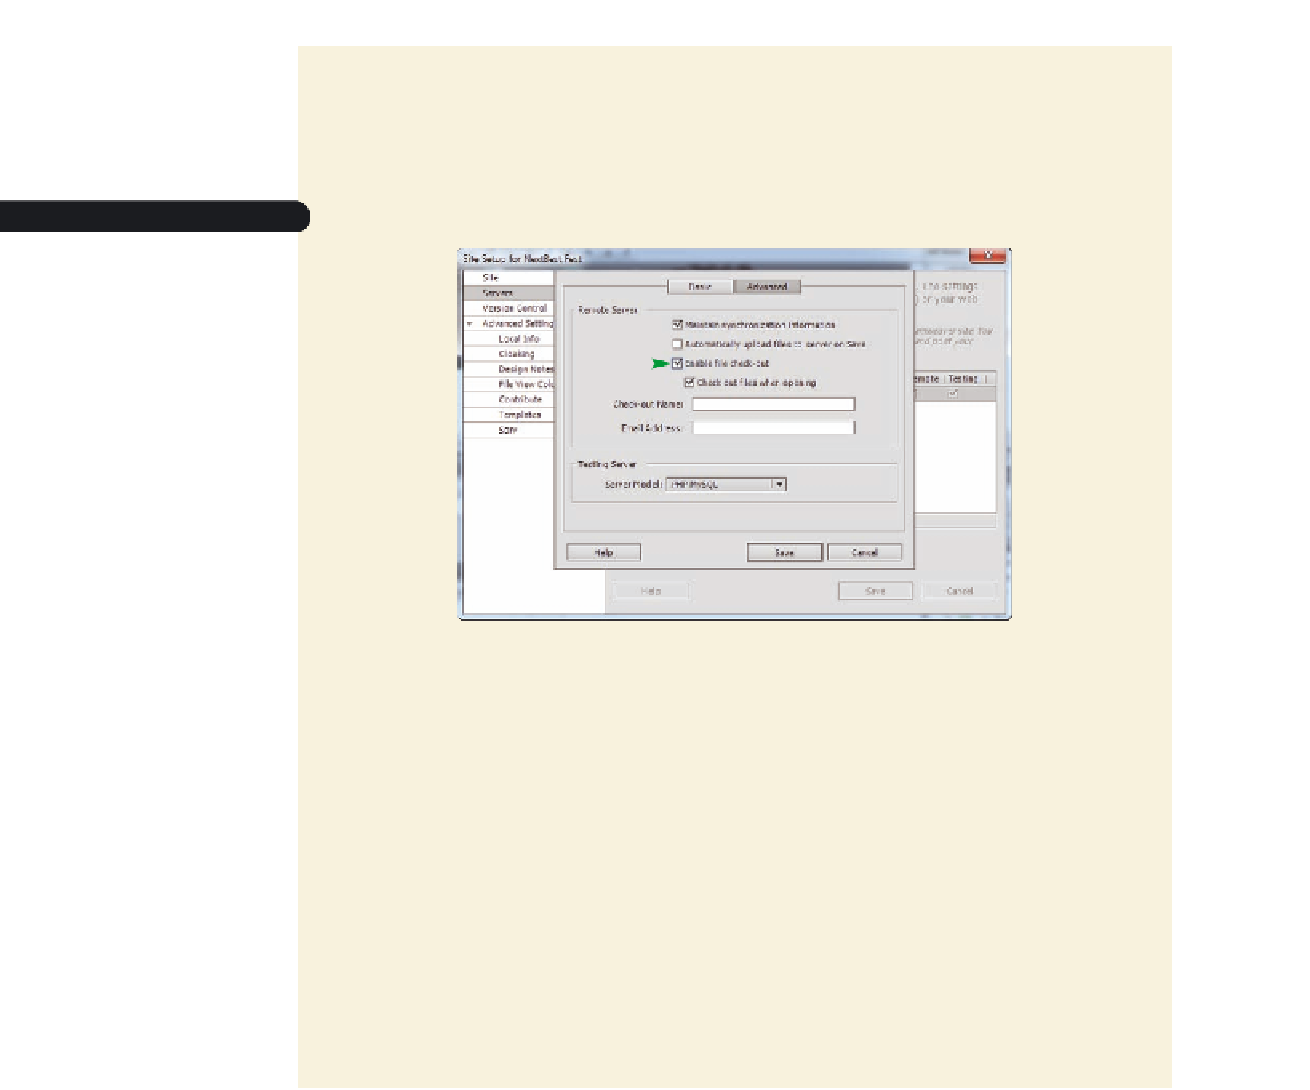
Click the
Enable file check-out
check-box to insert a check mark. Additional
options appear in the dialog box. See Figure A-7.
Figure A-7
Remote Info in the Site Defi nition dialog box
check to set up the Check
In/Check Out system
Check In/Check Out options
Trouble?
If no additional options appear, your remote access is set to Microsoft
Visual SourceSafe.
Trouble?
If the Enable file check in and check out option is not available, you
need to set up a remote server for the site.
◗
5.
Click the
Check out files when opening
check box to automatically check out
files when you double-click the file in the Files panel.
◗
6.
In the Check out name box, type the name you want to appear in the Files panel
next to files you check out. This lets the team know who to contact about a file
that is checked out.
◗
7.
In the Email address box, type your e-mail address. When you check out files, your
name will appear as a link in the Files panel that when clicked by a team member
opens a message window addressed to you with the file and site name as the
subject.
◗
8.
Click the
Save
button twice, click the
OK
button, and then click the
Done
button.
After you set up the Check In/Check Out system, you can check fi les in and out on
a remote server using the Files panel. A red check mark indicates that a fi le is already
checked out by another team member. A lock symbol indicates that a fi le is read-only.


Search WWH ::

Custom Search