Graphics Programs Reference
In-Depth Information
Adding or removing a vignette
The Vignette and Devignette tools are separate controls available from the Adjustments pop-up
menu. Although they seem to be opposite ends of the same spectrum, they're separate adjust-
ments because Aperture applies them at different stages of the adjustment process. You can apply
them whenever you want, but you can see from their location in the series of adjustment bricks
that Aperture applies devignetting early on, whereas vignetting is added near the end when the
final image is output.
Vignettes can be helpful to help guide your viewers' eyes toward your subject and away from any
distractions near the edges of your image, as shown in Figure 6.34. Ansel Adams was a master of
vignetting in the traditional darkroom.
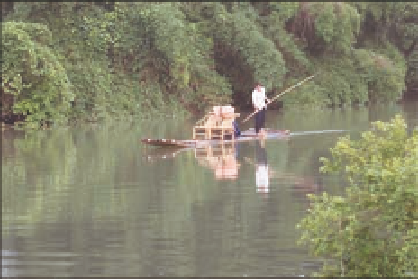
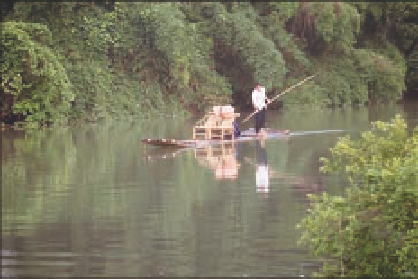
6.34
Adding a vignette can improve an image by helping guide your viewers' eyes to the main subject.
To apply a vignette in Aperture, follow these steps:
1.
Choose the Vignette option from the Adjustments pop-up menu.
A new brick appears.
2.
Choose either Gamma or Exposure from the Type pop-up menu.
Gamma will yield a
stronger overall result whereas Exposure will be more subtle.
3.
Set the desired intensity of the vignette.
We often begin by setting the Intensity to
the maximum so we can easily see the effect and then back it off to a pleasing level. That
helps us to set the Radius slider as well.
4.
Set the Radius slider to determine how far the effect should extend into the image.
Devignetting is helpful to reduce any darkening around the corners or edges of an image that can
occur with some lenses that were originally designed for film cameras rather than digital, or with
some wide-angle lenses with lens shades or filters. Usually this type of accidental vignetting is not
flattering to the image. To reduce vignetting, follow these steps: