Graphics Programs Reference
In-Depth Information
Using the Exposure controls
The Exposure brick has four sliders that enable you to adjust the overall exposure of the image as
well as to recover detail in some of the lightest areas of the picture, to set the black point, and to
adjust the overall brightness of the image.
Begin by setting the Exposure slider so that most of your image is exposed correctly. Before you
set the other sliders, it's possible that the overall image may still be a little too bright or too dark,
and in some cases there may be a small amount of highlight clipping. The idea is to get the bulk of
the image correctly exposed using this slider in such a way that you can use the other sliders to
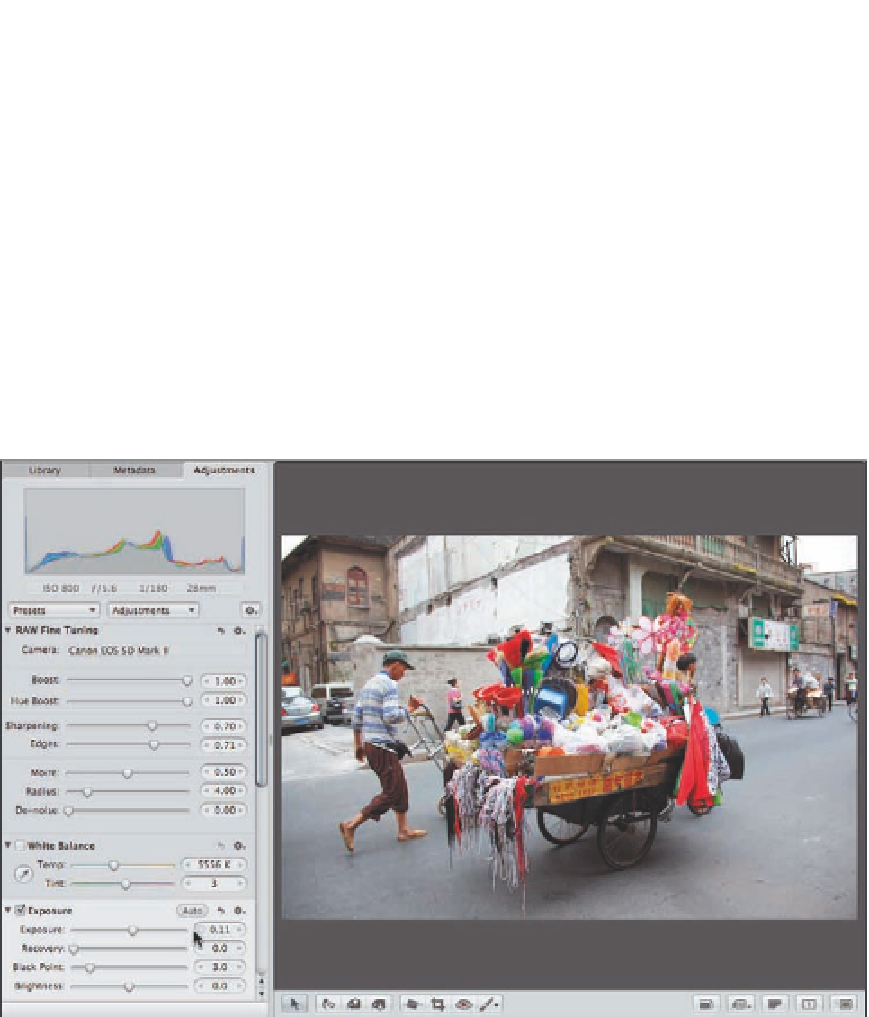
refine the results and improve the exposure of the image, as shown in Figure 6.14.
6.14
Begin by setting the Exposure slider so that most of the image is properly exposed.
While adjusting the Exposure, Recovery, and Black Point sliders, hold down the Ô
key to have the image temporarily replaced by a grayscale version. This makes any
clipping more obvious as well as helps you see precisely which pixels are being set
to black or white. That can help you set the sliders more accurately. After you release
the Ô key, check the results visually on the image and make any refinements that
are needed.
Genius