Game Development Reference
In-Depth Information
Note
Although they are related, setting a key is not the same as setting a driven
key. As you may remember from
Chapter 12
, driven keys link one attrib-
ute to another, but are set at specific attribute values, not specific frames
in the Time Slider. Ordinary keys are set at a specific frame, storing the
currently selected attributes at that time.
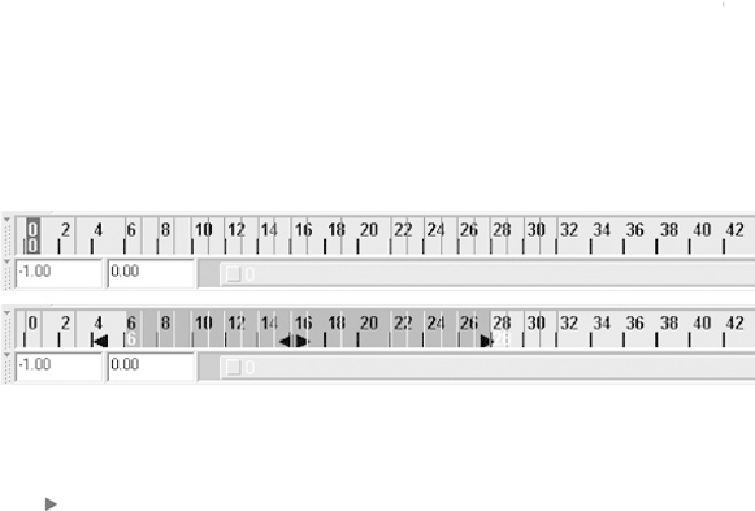
When keys are set on an object, they show up in the Time Slider as red lines (
Figure 16.4
,
top).Youcantheninteractivelyeditthesekeys,movingandscalingthemintheTimeSlider
itself. To do this, hold down Shift and drag over a selection in the Time Slider. Your se-
lection will be marked with a red box, with arrows at either end and in the center (
Figure
entire set of selected keys as a group. Selecting and moving one of the end arrows lets you
scale the selected keys in that direction.
FIGURE 16.4
Working with keys in the Time Slider
So how do we create a keyframe? There are a number of ways to do this in Maya; here are
the most common ones:
In the Animation menu set, go to Animate > Set Key (you can also access this tool
by pressing S). By default this will set a key on all the selected object's keyable at-
tributes, but it can be configured to work however you like, using the options seen
in
Figure 16.5
.
The best thing to do is play around with this tool until you find a
setup that works best for you.