Game Development Reference
In-Depth Information
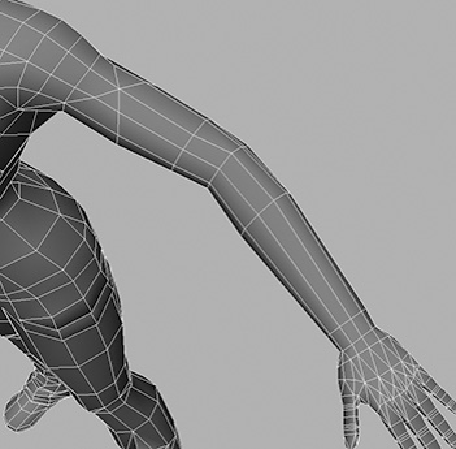
FIGURE 6.1
For our first skeleton area, focus in on Kila's left elbow.
1.
Switch to the top view so that you are looking down on the arm. Switch to wire-
frame mode (press 4) so that you can see the joints as we place them.
Switching Views
Use the number keys to cycle through the viewing modes in Maya.
4 switches to wireframe mode
5 switches to shaded mode
6 switches to textured mode
7 switches to lighted mode
2.
To begin placing the joints, switch to the Animation menu set (F2). Go to the Skel-
eton menu and select the Joint tool. Leave the options alone for now; we are going
to use the default settings. We will explore joints in more detail in
Chapter 11
,
“
Skeleton Setup
.”
3.
Following
Figure 6.2
,
place the first joint just before the shoulder, then one at the
shoulder itself, then at the elbow, and finally at the wrist—making four joints in