Civil Engineering Reference
In-Depth Information
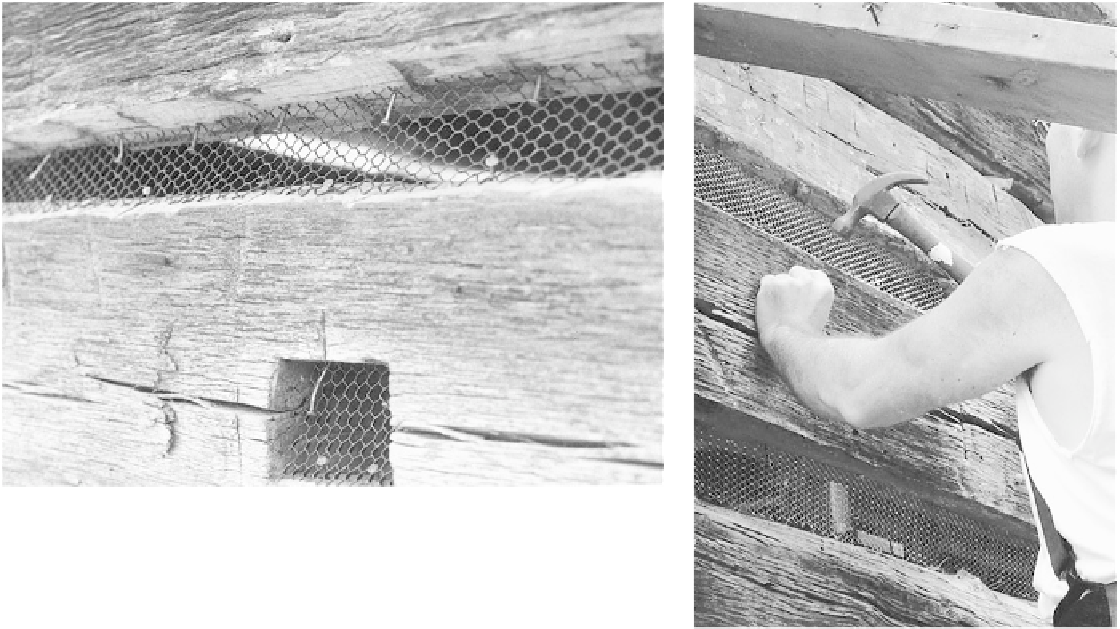
Cut the metal lath to fit the irregular chinking width of each space between the logs. Metal
lath sheets permit you to fit spaces that are either very narrow or very wide. Install the
metal at an angle, sloping outward. Nail into both the upper and lower log. Since this was
an on-site restoration, there is no groove in the upper log.
end as nogging. But it does get more difficult to keep
the wet plaster on lath wider than eight inches. And
you don't want to see more chink than log. Neverthe-
less, you can alter the width between the logs on your
cabin only so much. If your logs are small and narrow,
you cannot change that. If your chink joint is wide, you
can't change that either. You will need to play the hand
you are dealt, so correct installation of the chinking
wire will be your path to a workable chinking job.
If an old wall has narrow spaces, often there is dete-
riorating sapwood at the top and bottom of the logs
where they were not hewn. This punky sapwood
should be removed with a chain saw or hatchet to
widen the spaces between logs. Another way to widen
the gaps is to insert spacers into the notches.
Chinking Mortar-
Mix Formula
1 part lime
2 parts Portland cement
9 parts sand (redbrick sand gives the
chinking a soft gray/tan color)
Mix together all ingredients. Add water
until the mix reaches a stiffconsistency.
Trowel about ‹/¢ inch thick over metal
lath, installed at an outward-sloping
angle.
Do not use premixed masonry mortar
(intended for brick or stonework)
for chinking, which is a thin, free-
standing application. Do not use
pigment to tint the mortar.
Installing the Lath
Cutting metal lath is my least favorite job. It'll tear
your hands apart if you don't wear gloves. Use sharp
tin snips to slice up the two-by-eight-foot sheets and
try to cut between the lengthwise diamond-shaped
spaces, so you won't leave long, wicked spines. We use