Civil Engineering Reference
In-Depth Information
that meant it had to go quickly. A gathering of pio-
neers could hew out a cabin and put it up in a day.
With the current revival of log building, filling the
spaces between logs is once again a major problem.
Log kit manufacturers have devised all manner of
splines, locking grooves, and plastic gaskets to substi-
tute for the old-style chinking. Some of these innova-
tions may prove to work well over the years; others
have already fallen by the wayside. Because most of
these kit logs have not stopped “moving” when assem-
bled, they have been known to twist out of the clever
spline configurations.
Either way, I've got a strong prejudice against
factory-made, fit-together log kits. They are expen-
sive, and, to me, they aren't the real thing. Building or
restoring your own traditional hewn-log house lets
you participate in history, in a sense, and it can save
you a lot of money.
Finding Out What Works
Modern materials and techniques that last but look
like traditional chinking are the key here, because they
solve the age-old problem of permanence.
I grew up around log cabins, and that meant trying
different ways to make the chinking more effective
and permanent. When I was 11, my father, older
brother, and I tore down, moved, and reassembled a
log house that had provided little real shelter because
the chinking was constantly falling out. The logs had
been notched so that they were close together, and the
voids had been filled with solid concrete mortar.
When the logs expanded during the wet season, the
chinking broke up like ice on a pond.
We shortened and renotched the logs for a wider
crack. Before we filled the space with a lime-based
mortar, we drove rows of nails across the spaces and
strung barbed wire in there. This gave the chinking
some reinforcement. And it is still intact almost 60
years later.
But still those logs shrank with dry weather, open-
ing cracks next to the chinking. Caulking seemed the
ultimate answer, but it was expensive and required
periodic maintenance. We also questioned the sense
of using stone shards and wood splits behind the
chinking mortar because they didn't seem to do much
to keep out the wind or cold. But neither did filling the
entire space with the masonry mortar.
As the years passed, I graduated from barbed wire
to chicken wire, then to hardware cloth, and finally to
metal lath, which is designed to hold plaster. I also
tried various kinds of insulation, but it wasn't much
good at keeping out drafts. Sprayed foam was better,
but messy and hard to contain as it formed. It's expen-
sive too. The best insulation that I've found is fiber-
glass batting. If it's packed more tightly than usual so
it springs outward against the logs, it really keeps the
wind out. It's not as efficient that way as insulation,
but it does work. It takes about two times the quantity
you'd use for normal insulating.
I ultimately settled on the following routine to
chink my log structures. With a chain saw, we cut a
one-inch-deep groove, a little over one inch in from
the outside face of the log. This is only on the under-
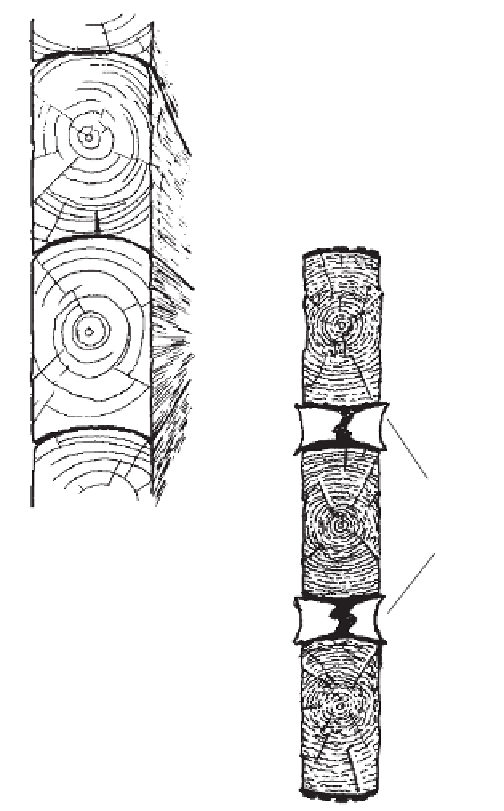
These scribed logs are fitted to go together
without chinking. Traditionally, a layer of
moss was used between them.
Often, old chinking improperly
installed acts to destroy logs
over time by catching rainwater.