Graphics Programs Reference
In-Depth Information
I wish Lightroom had the built-in ability to add custom borders, edges, and
frames around your photos, but unfortunately it just doesn't. However,
you can do a little workaround that lets you use your Identity Plate, and
a special option in the Identity Plate section, to get the same effect right
within Lightroom itself. Here's how it's done:
Step One:
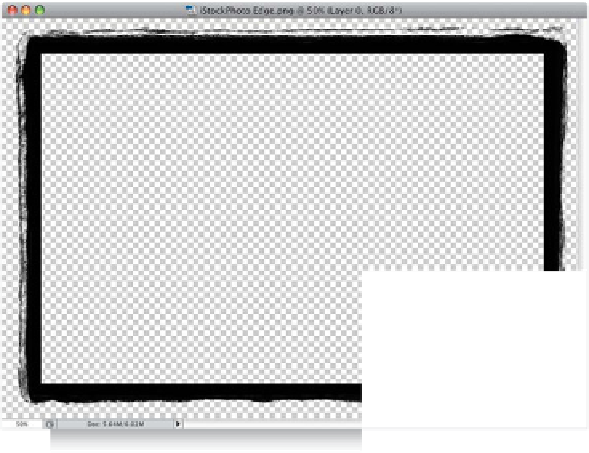
Just like the slide show borders we did in
Chapter 10, we'll start in Photoshop with
the edge border you see here that I down-
loaded from iStockphoto.com (you can
download it for free from this topic's web-
site, mentioned in the introduction). The
edge comes flattened on the background,
so select the entire black area. Then press
Command-Shift-J (PC: Ctrl-Shift-J)
to put
it up on its own separate layer. Cut a rect-
angular hole out of this solid black edge
graphic (so our photo can show through)
using the Rectangular Marquee tool
(M)
,
then press the Delete (PC: Backspace) key.
Our file can't have a solid white background,
though, or it will cover our photo in Light-
room—instead it has to be transparent.
So, go to the Layers panel and click-and-
drag the Background layer into the Trash
(at the bottom of the panel). Now, save
the file in PNG format.
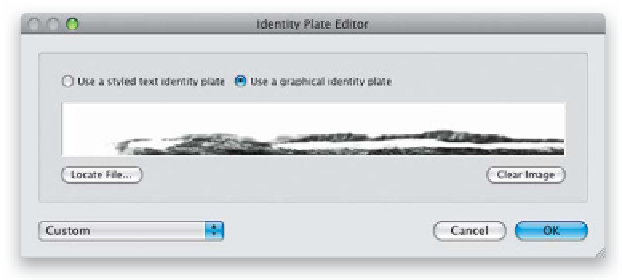
Step Two:
All right, that's all the prep work in Photo-
shop—now back to Lightroom. Click on the
photo you want to have an edge frame, then
jump over to the Print module. In the Page
panel, turn on the Identity Plate checkbox.
Then, in the Identity Plate pop-up menu,
choose
Edit
to bring up the Identity Plate
Editor you see here. In that dialog, click on
the Use a Graphical Identity Plate radio but-
ton (because we're going to import a graphic,
rather than using text), then click on the
Locate File button, locate your saved PNG
frame file, and click Choose to load it into
your Identity Plate Editor (you can see the
top of our edge frame in the small preview
window shown here).